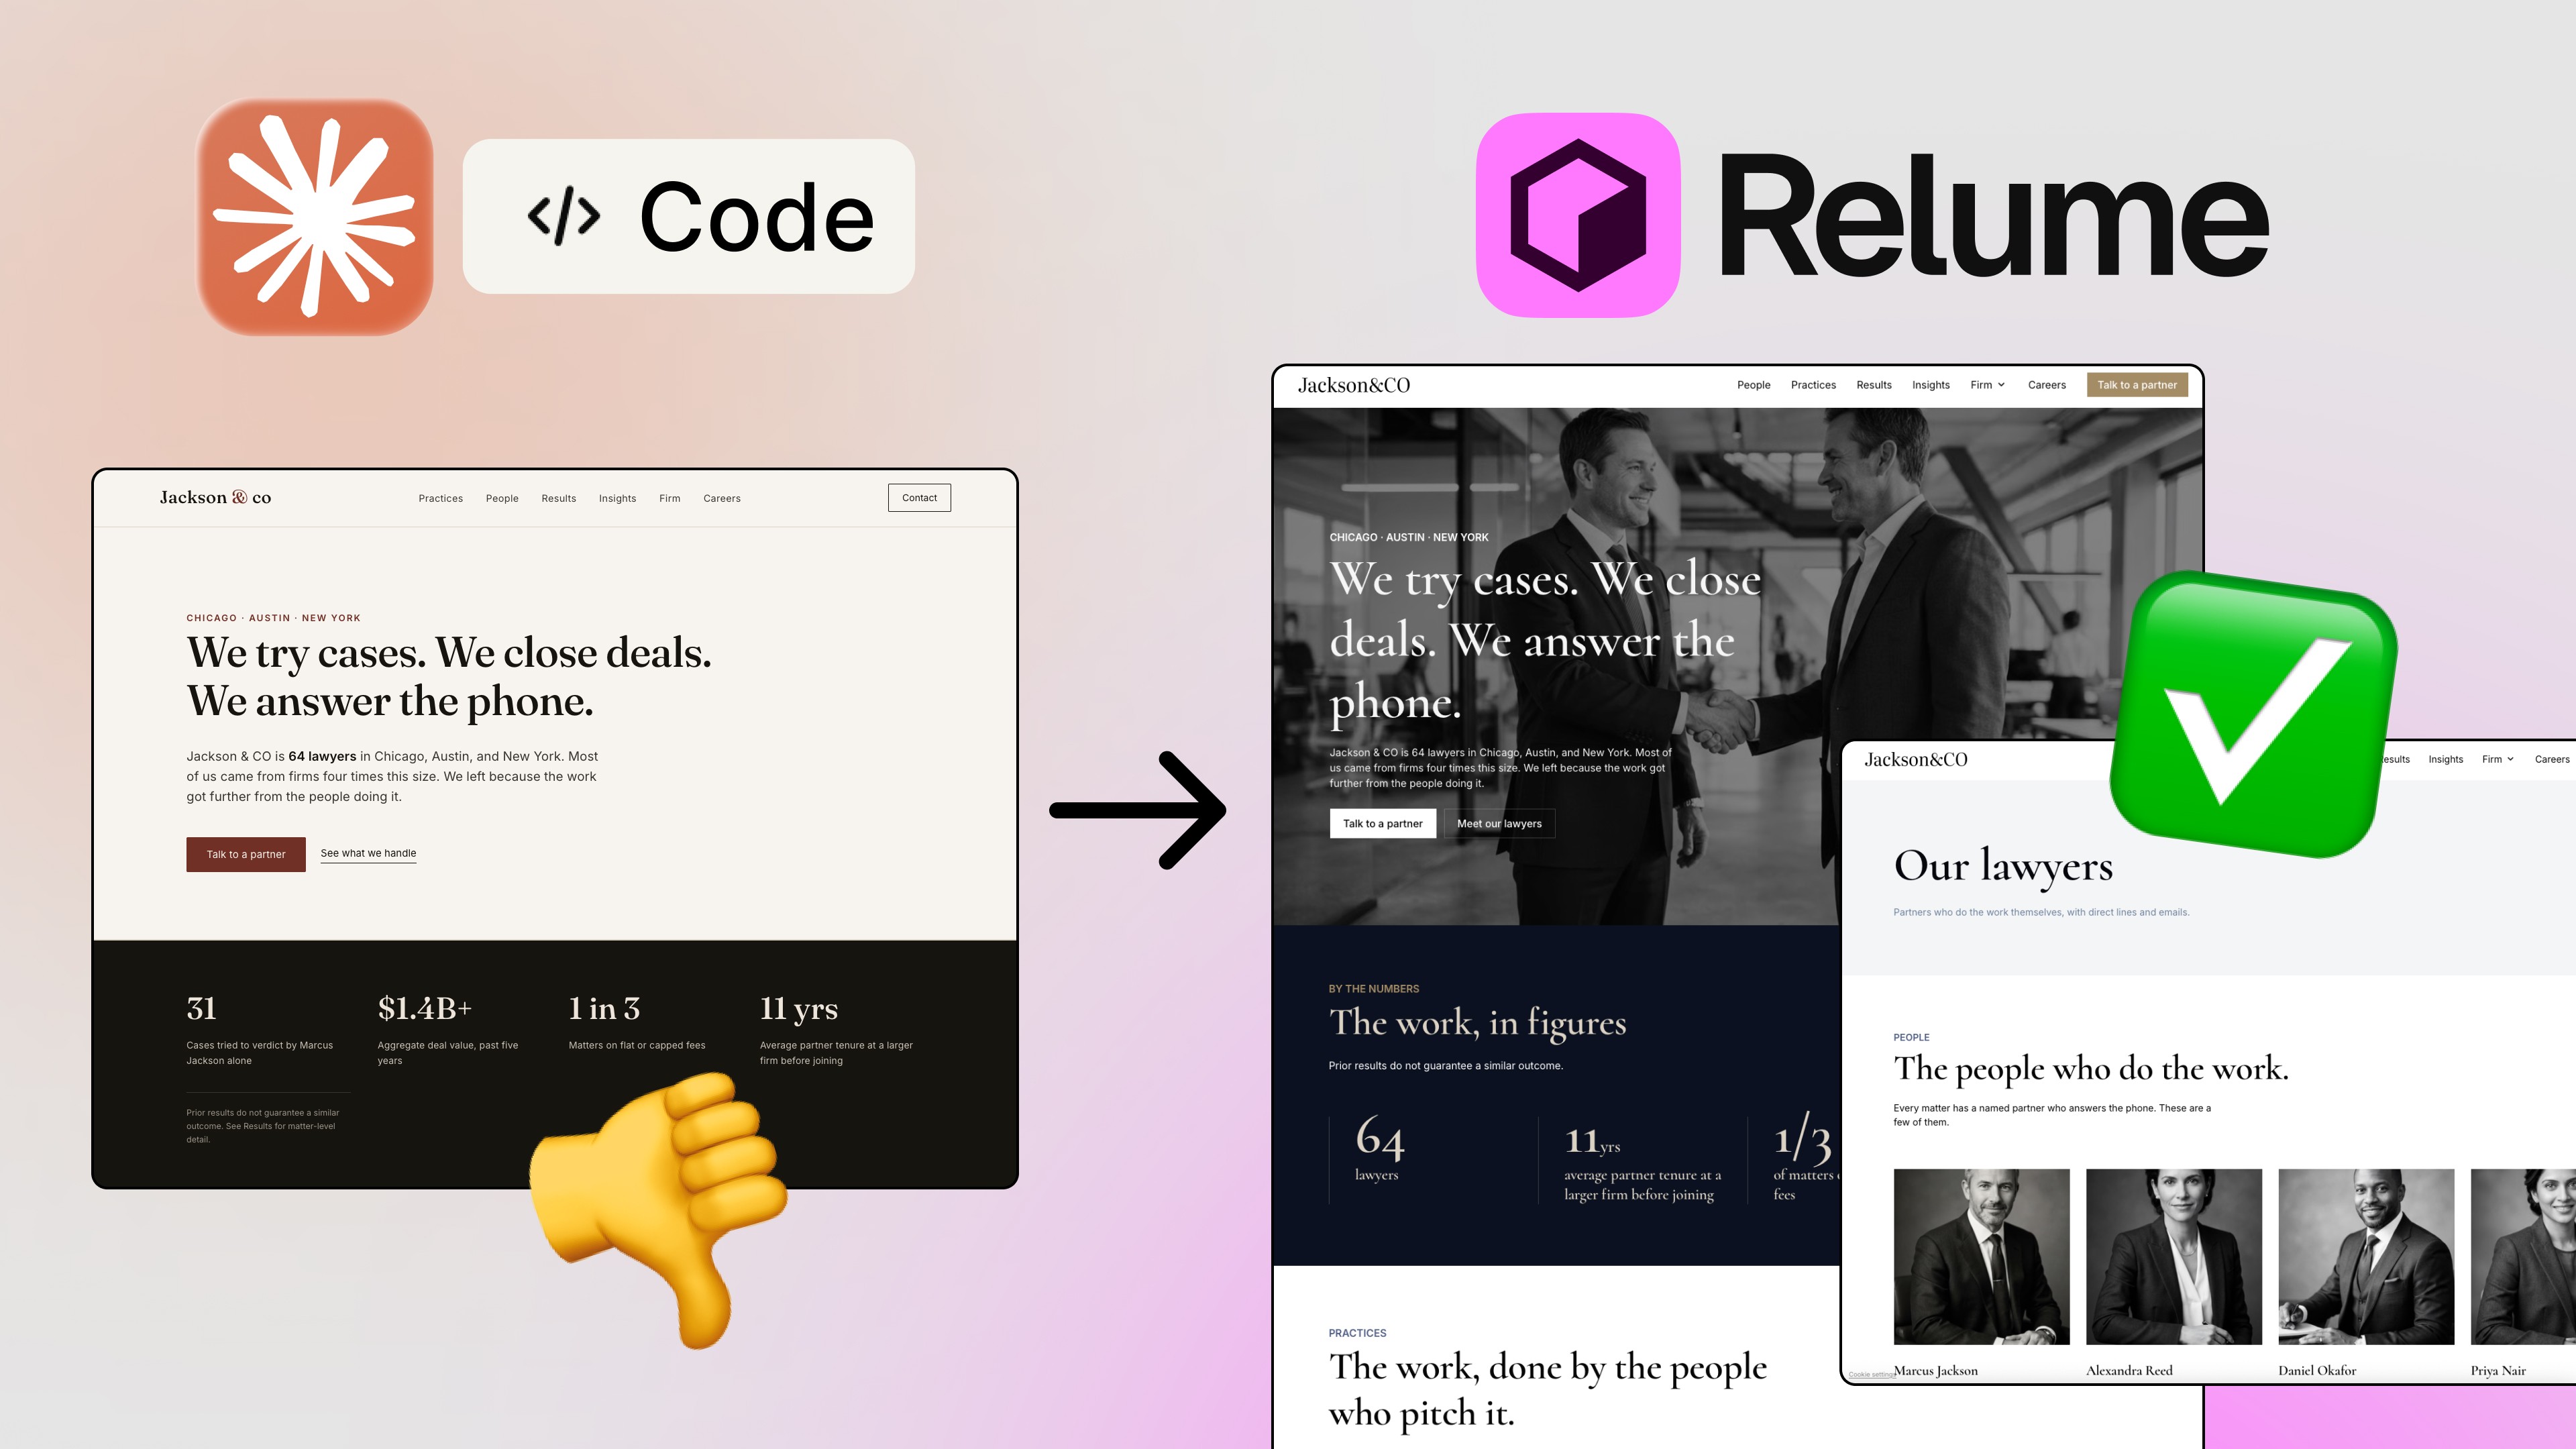
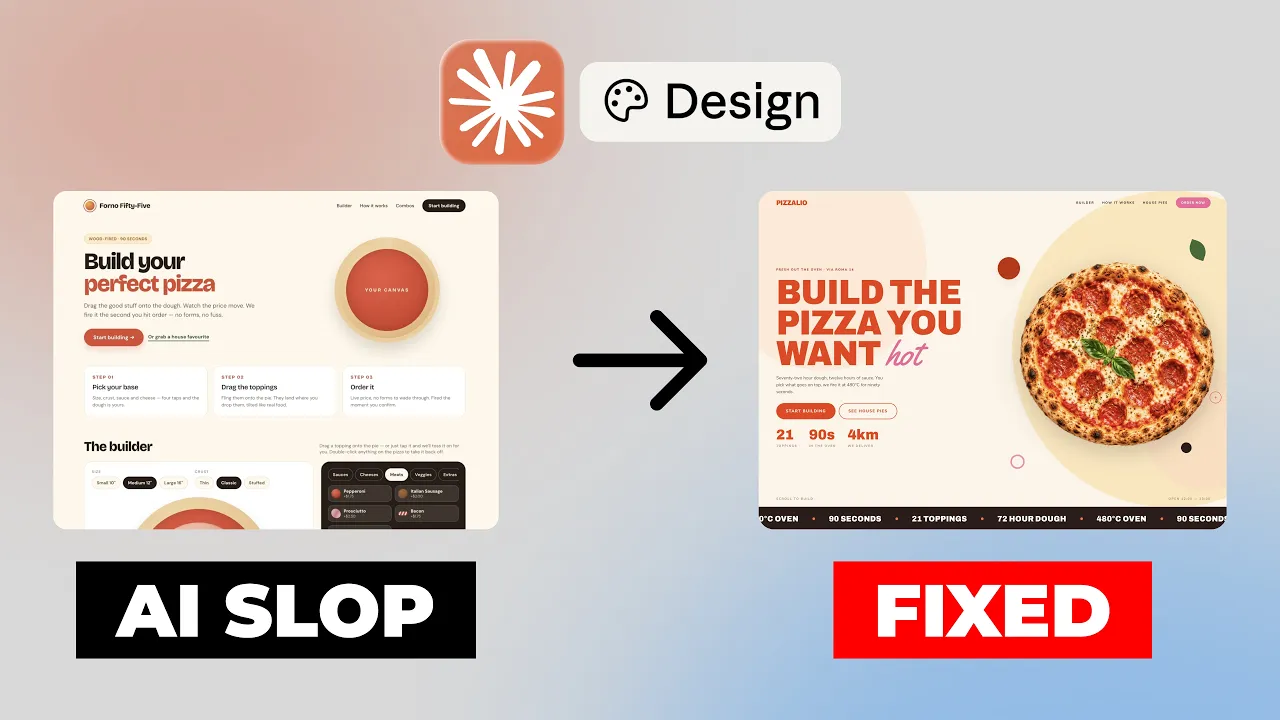
If you’ve ever generated a website with AI and thought, “okay… this is fine, but it looks like every other AI site out there” — you’re not alone. 😅 I felt the exact same way the first time I ran a single prompt through Claude Design and got back a landing page that was technically complete but design-wise, pretty generic. Same fonts everyone uses. Same layout everyone gets. Same soulless SVG illustrations.
But here’s the thing: the problem was never really the AI. The problem was the process. Same AI, same project, completely different result — once you build a proper Claude Design workflow around it instead of relying on a single lucky prompt.
In this article, I’m walking you through exactly how I take a generic AI-generated landing page and turn it into something that actually looks like it came out of a real design studio — using a reusable design system, refining every section, shipping it to Claude Code, and then reusing that same design system to knock out brand assets like menus and social posts in minutes. If you design with AI tools (or want to start), this is going to change how you think about the whole process. 🚀
Why a Single Prompt Never Gets You a Professional Design
Let’s start with the honest truth: one prompt, no matter how detailed, will almost never get you a polished result. I actually made this easy on myself — instead of hand-writing a giant prompt, I asked Claude (in regular chat) to turn a few rough sentences into a detailed markdown brief for my project. That MD file became my project spec.
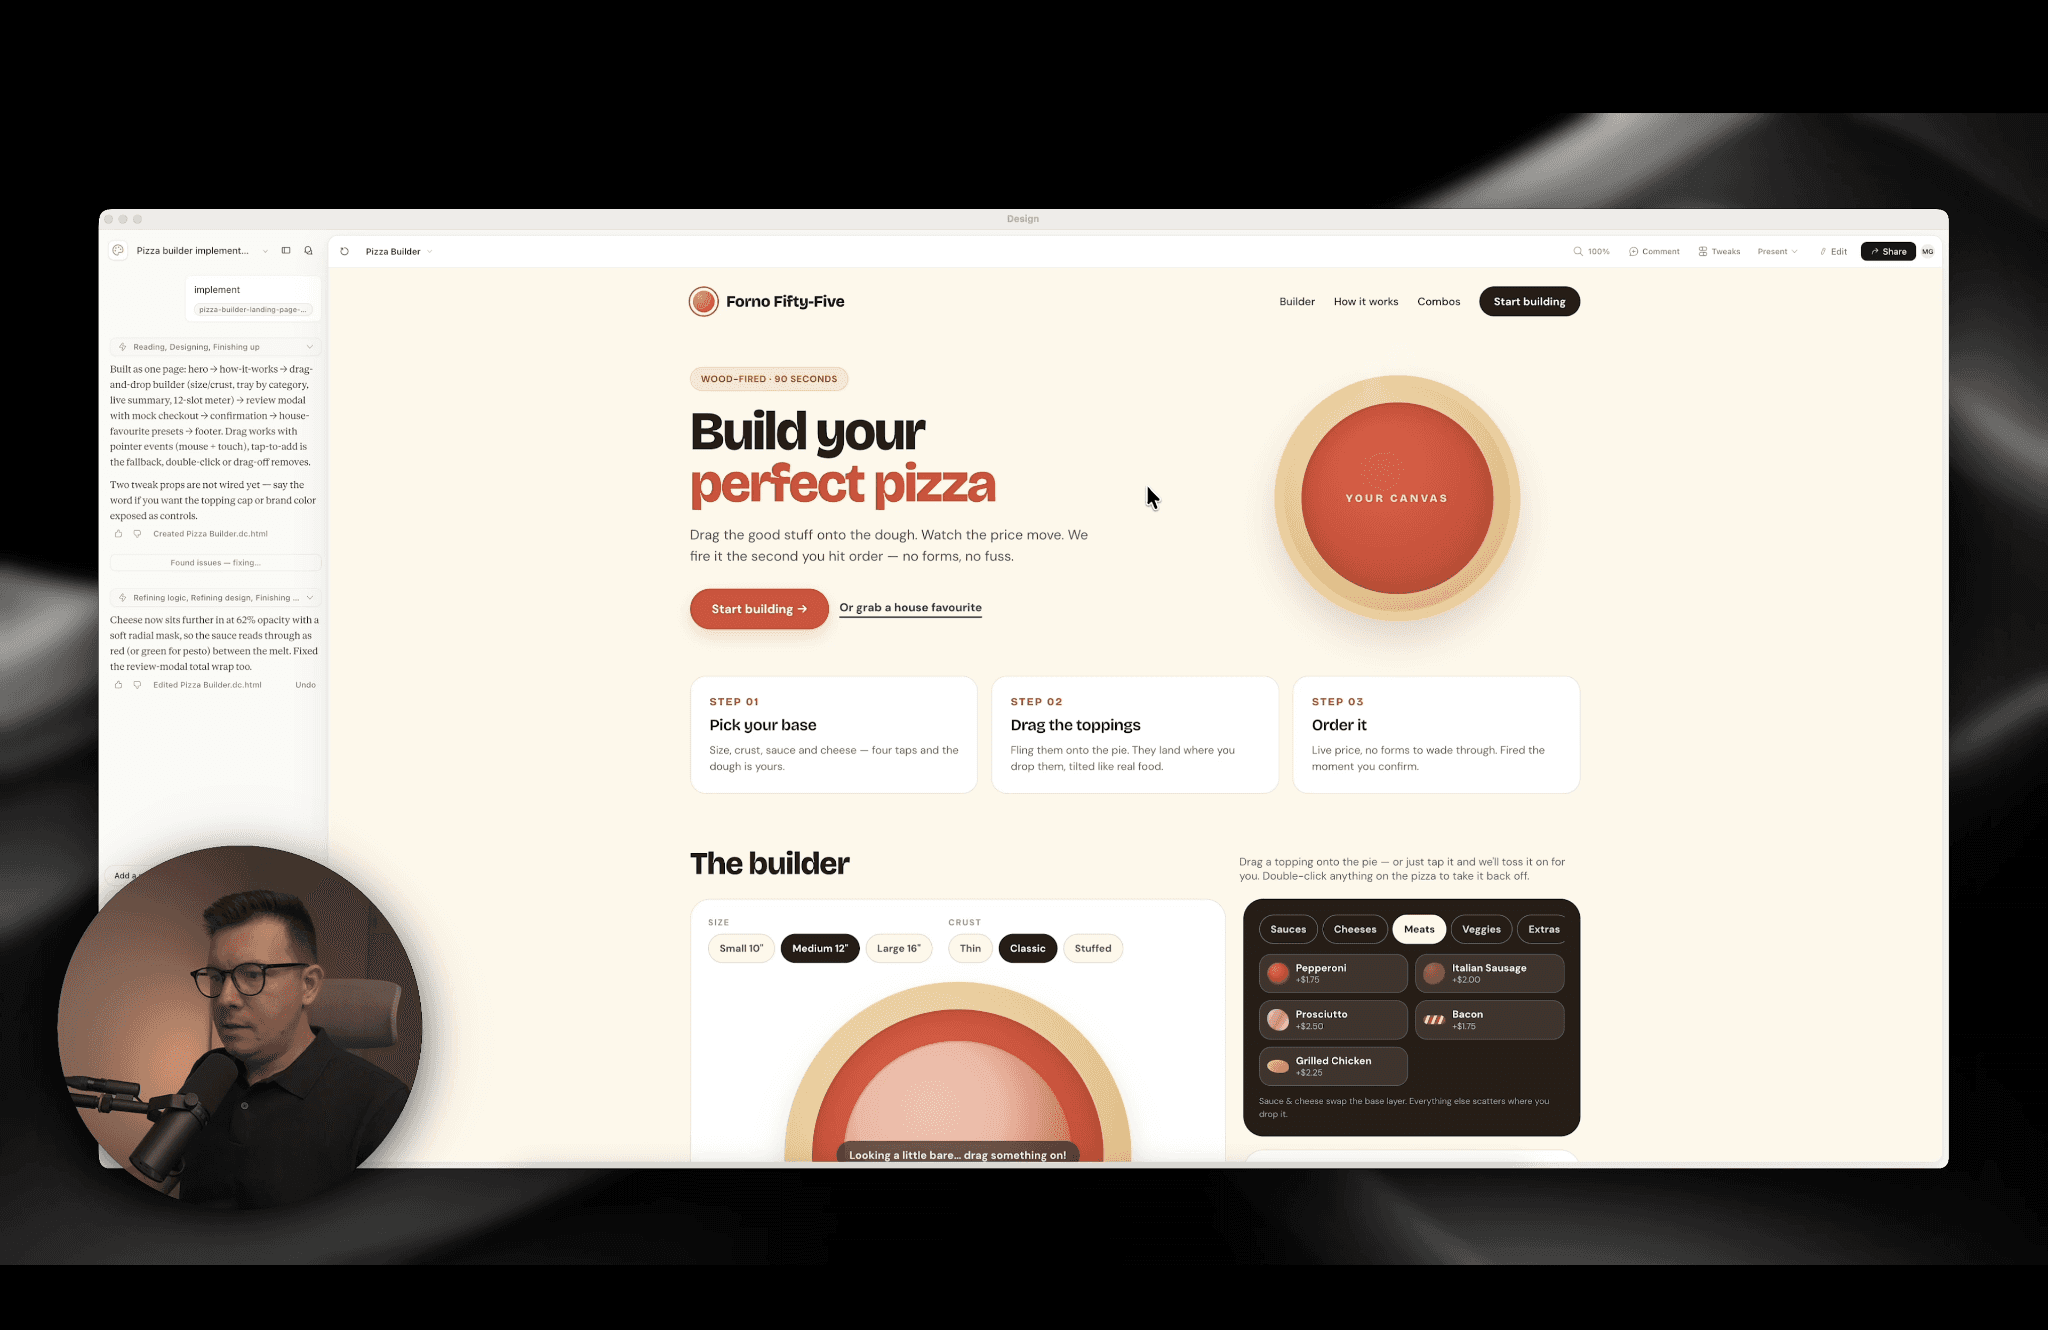
From there, I opened Claude Design (available right in the desktop app), clicked “Implement,” attached my markdown file, and ran it using Opus — deliberately without a design system and without templates. Why skip the templates on purpose? Because I wanted to see, honestly, what a single prompt produces on its own. No shortcuts, no crutches.
And the result was… okay. Functional, even kind of fun — I built a pizza landing page with an interactive pizza calculator where you could pick your crust, sauce, toppings, and preview your custom pizza before confirming an order. The interactivity worked great. But visually? It had that unmistakable “AI generated it” look. Generic SVG illustrations, safe typography, nothing that felt intentional.
This is the exact gap a real Claude Design workflow is built to close.
Step 1: Find Real Design Inspiration (Not AI-Generated Ideas)
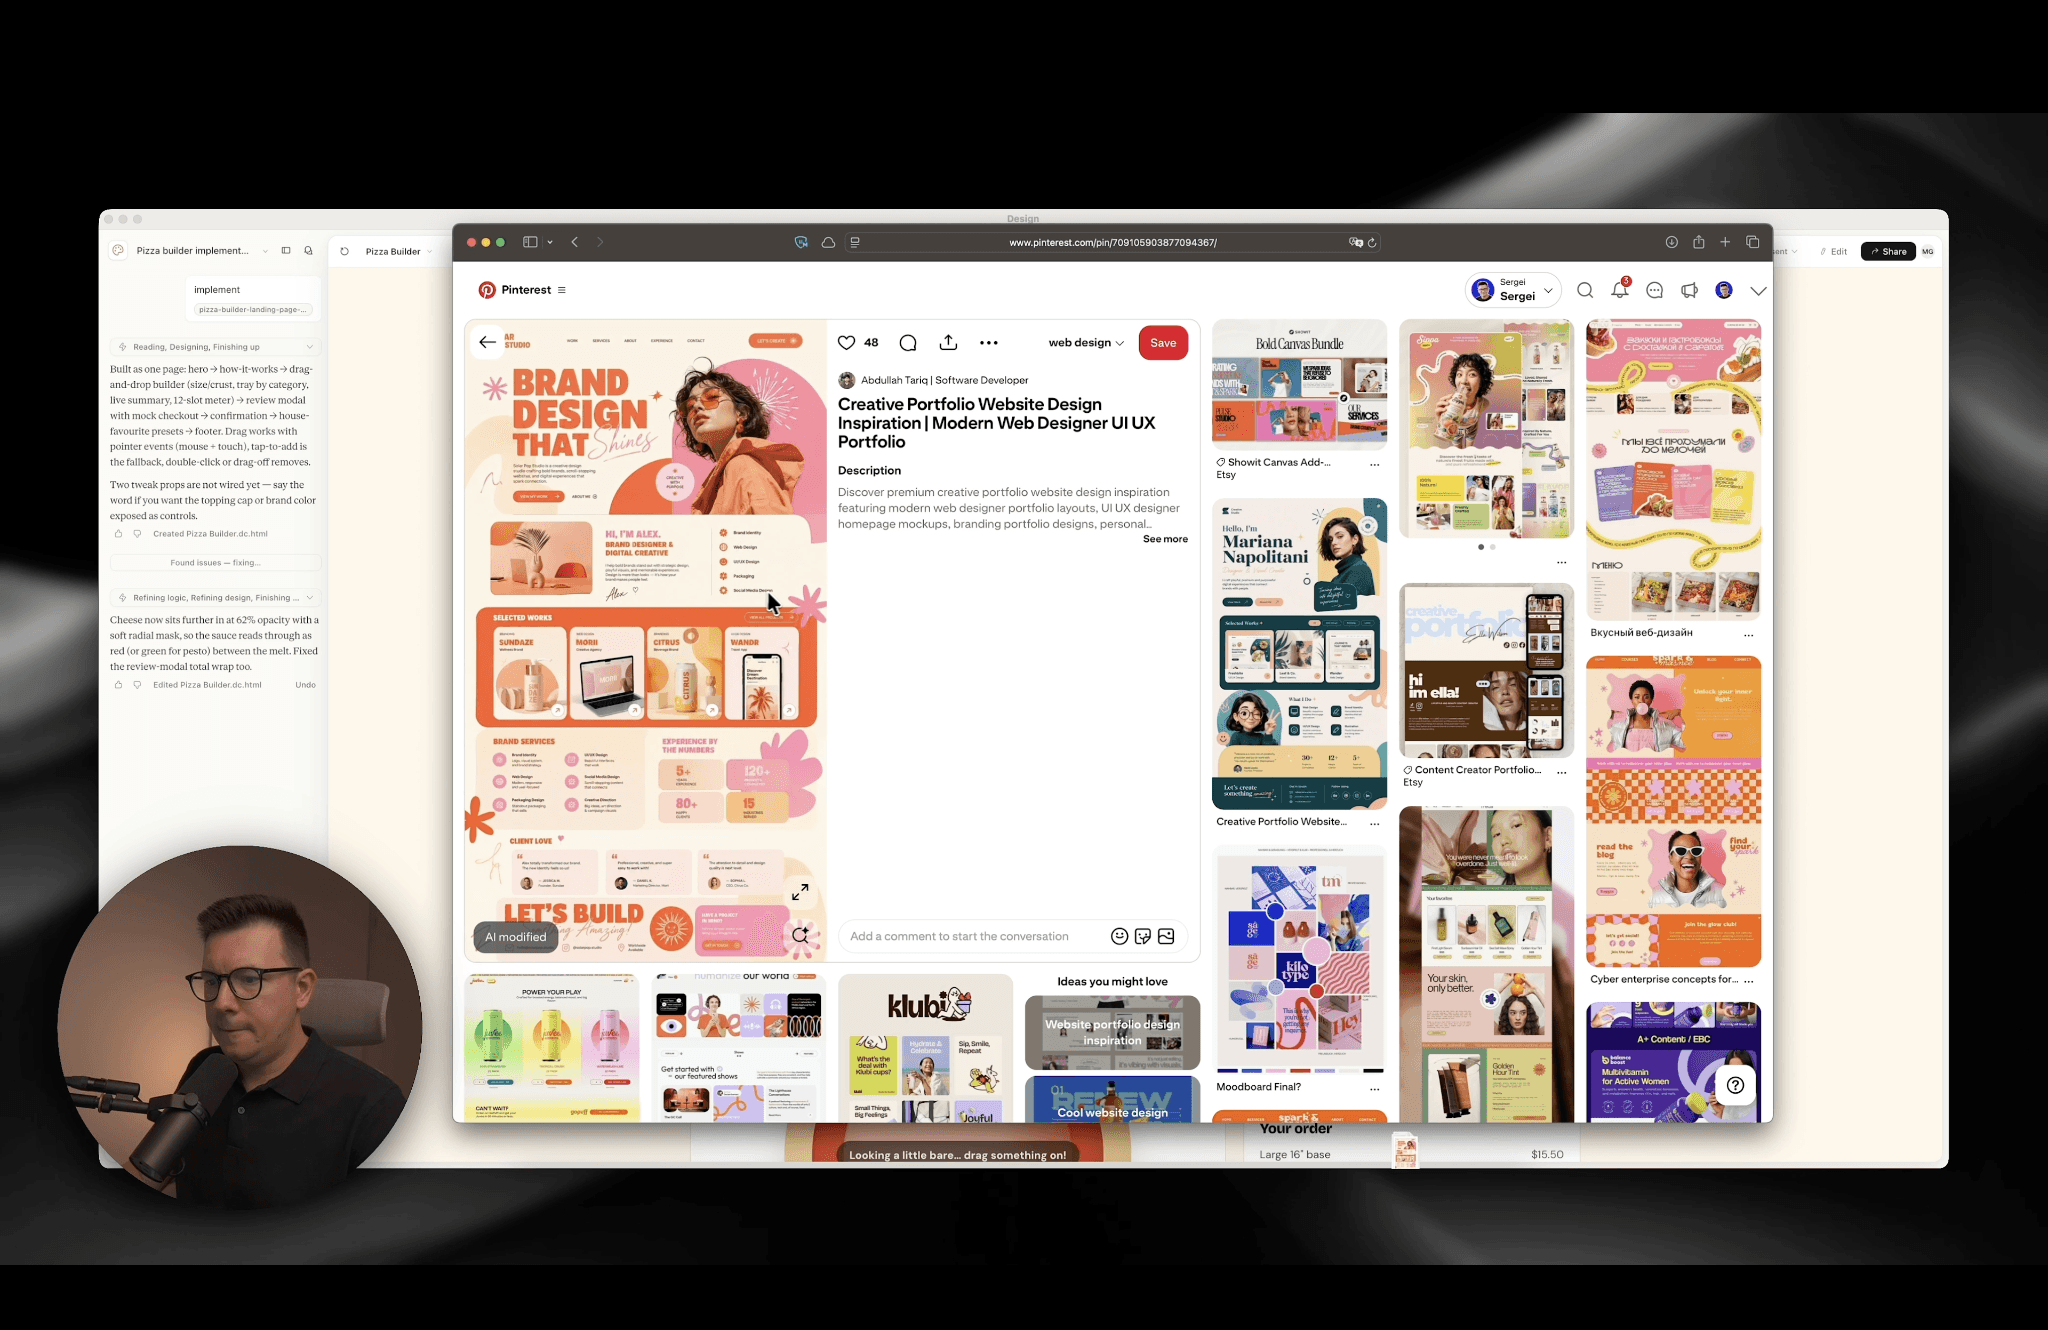
Before touching the design system, I go find inspiration from actual human-made design work — Pinterest, Mobbin, or any inspiration tool you already use. I searched for “fun website design,” scrolled until something jumped out — in my case, a site with typography I genuinely liked — and downloaded the image.
To be clear: this isn’t about copying anyone’s work. It’s about giving the AI a real visual reference point instead of asking it to invent taste from nothing.
Step 2: Build a Reusable Design System from a Visual Reference
This next part is, in my opinion, the most powerful feature inside Claude Design — and it’s the actual engine behind this entire workflow.
Inside your project, there’s a design system dropdown with a “create design system” option. From there you get a few input methods:
Connect an existing GitHub project (great if you already have a codebase you want the system extracted from)
Link a Figma file
Use visual assets (this is what I used)
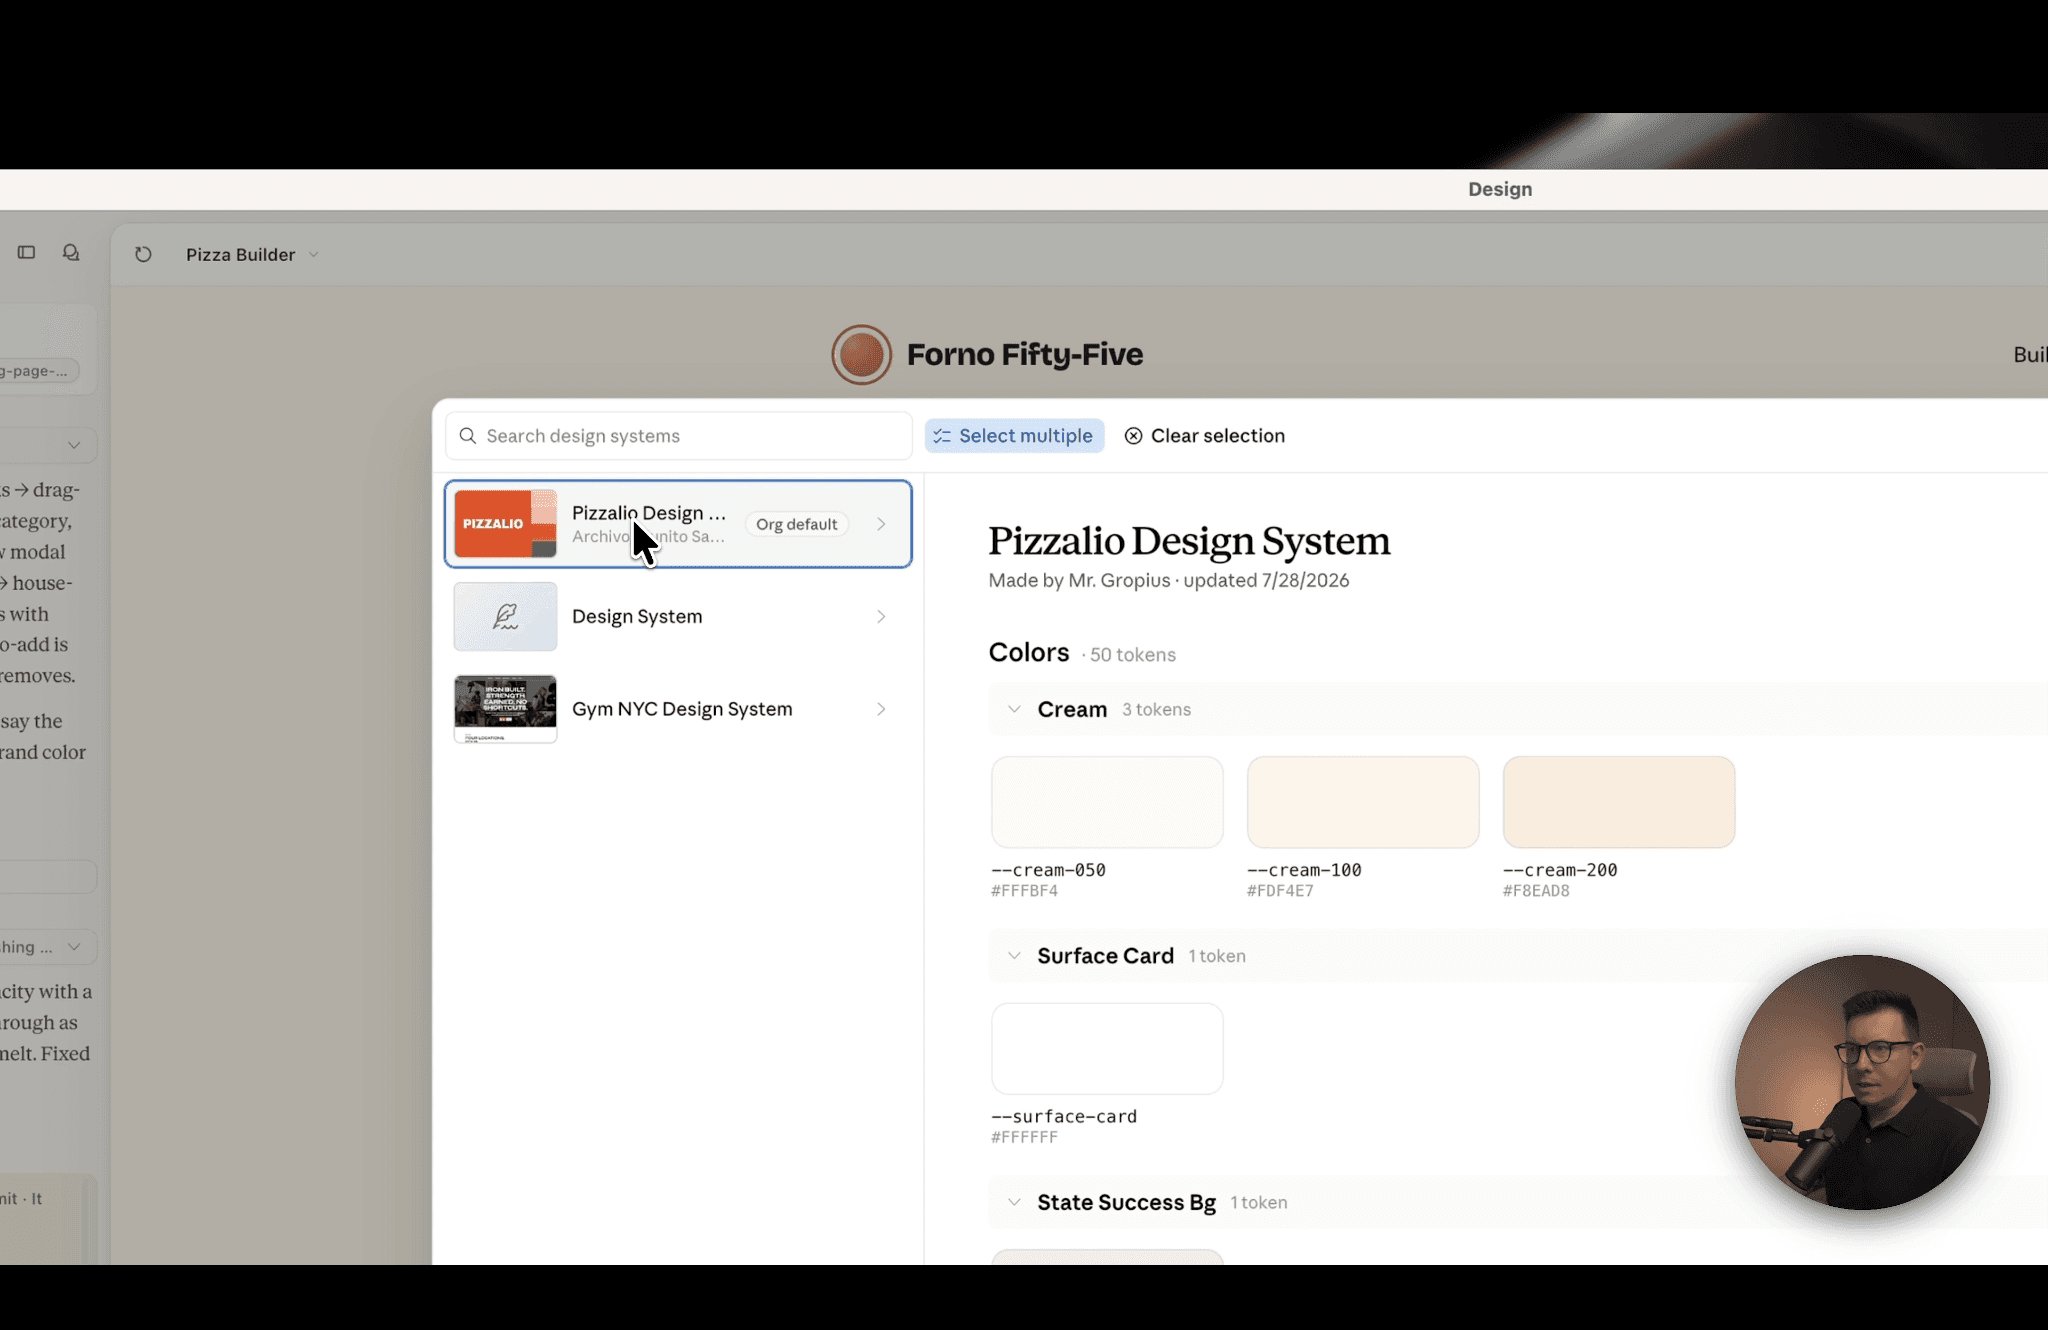
I dragged in the inspiration image, named the project, and generated the design system. And honestly, the output blew me away. It wasn’t just “here are five brand colors.” It included:
Font pairings and type scale
Full color palette, including secondary “blob and shape” colors
A word mark / logo concept
Elevation and radius rules
Animation guidelines
Even a mini landing page preview showing the system in action
This is the kind of documentation that would normally take days to put together manually in Figma. Having it generated in minutes — from a single image — is a genuine unlock for anyone who isn’t a full-time brand designer but still wants their AI output to look intentional.

Step 3: Apply the Design System to Your Existing Project
Once your design system exists, go back to your original project file, click the “+” icon, and select your newly created design system to attach it. Then prompt Claude Design to apply it — something like:
“Update the website design and layout using the design system. Hero section should be full viewport. Add parallax scroll animations.”
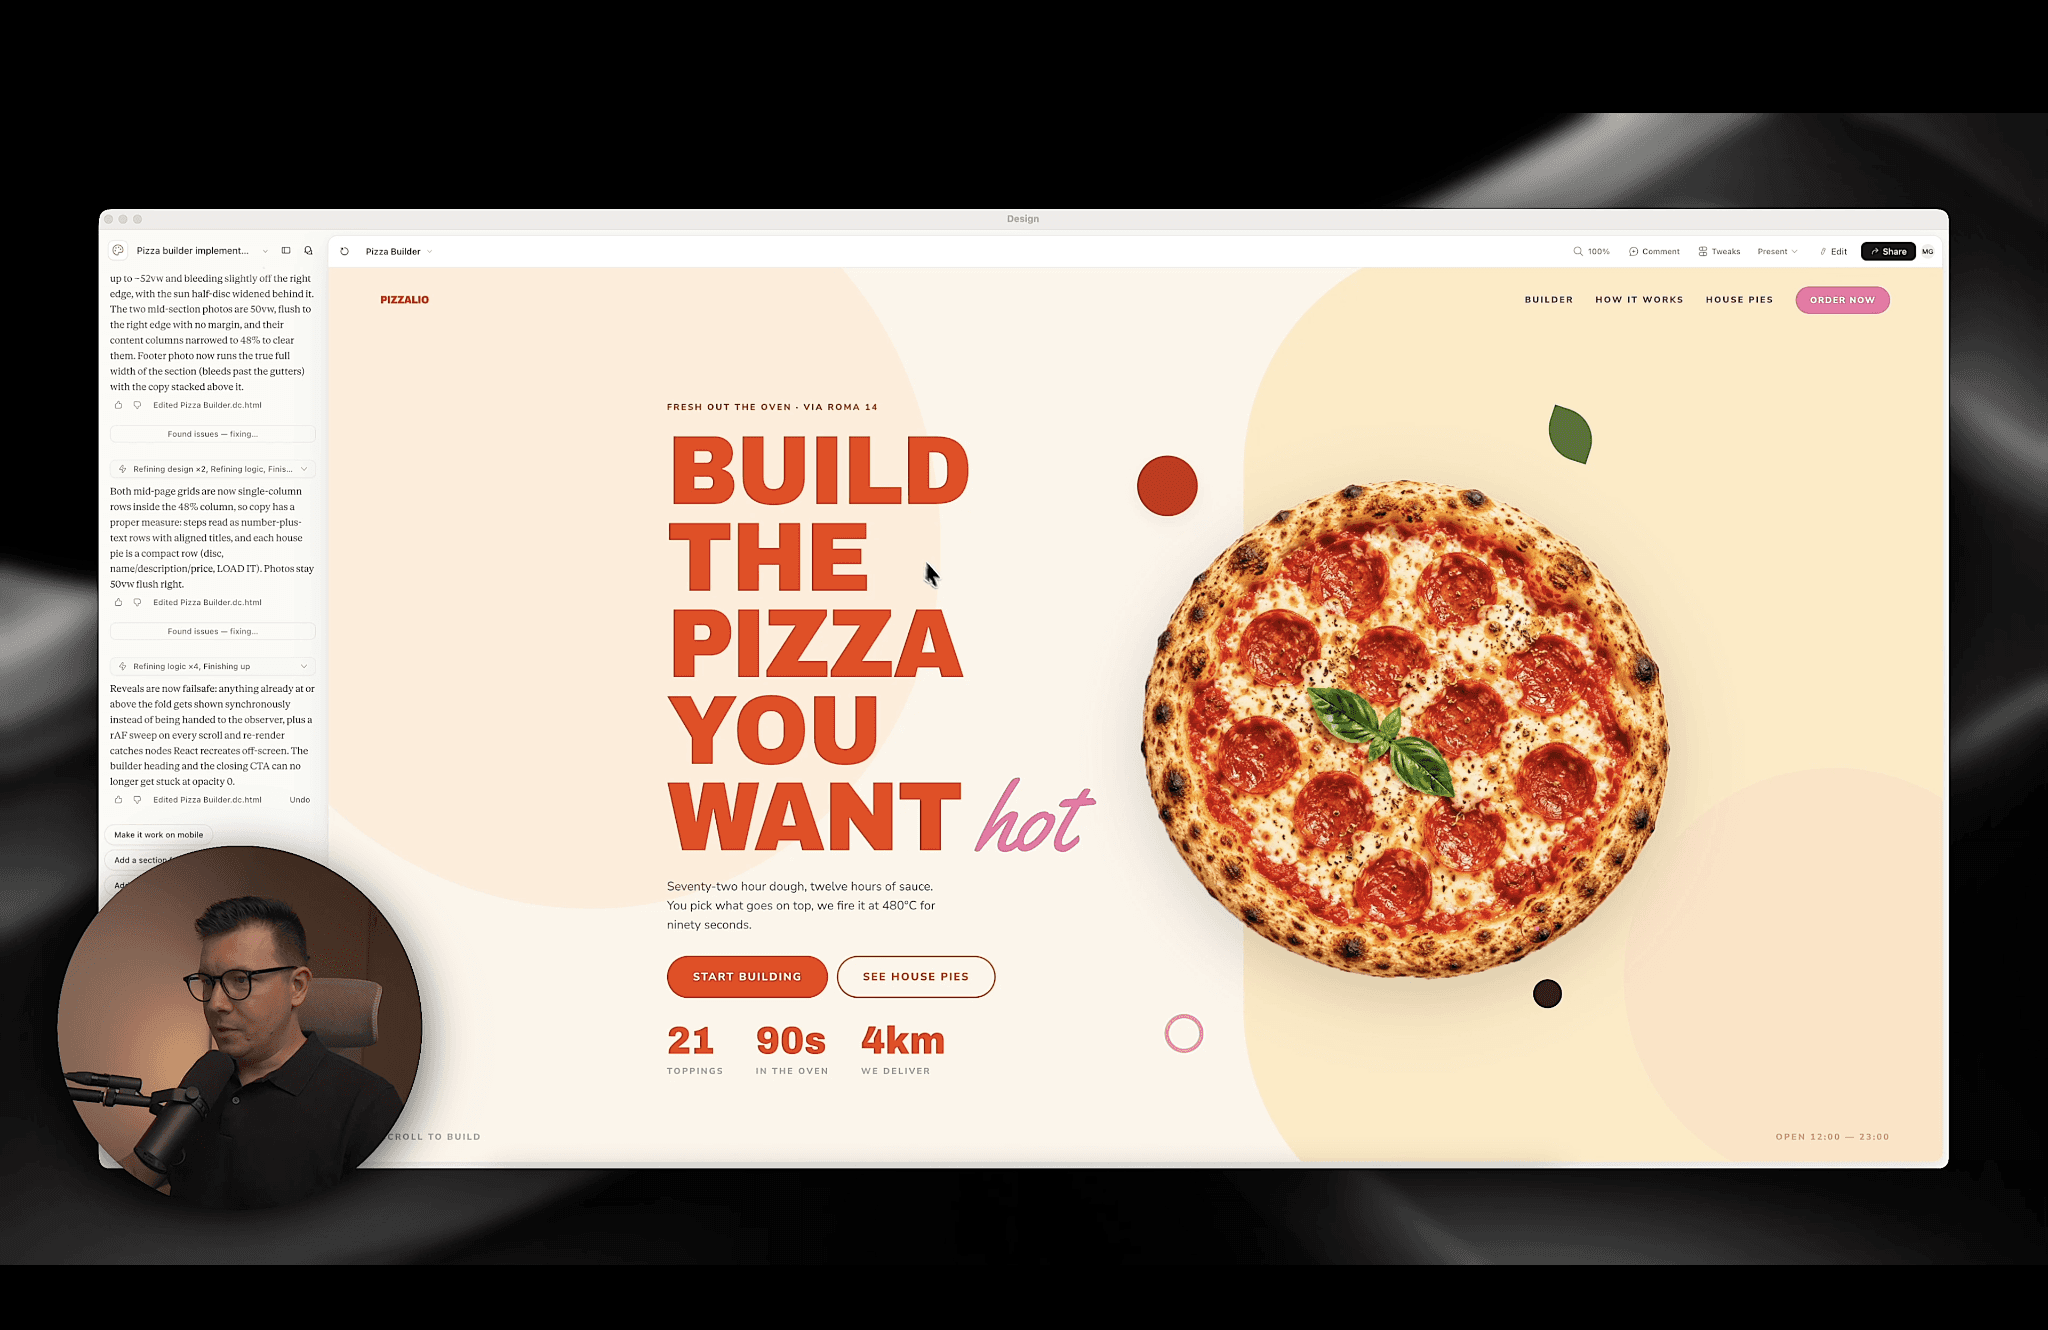
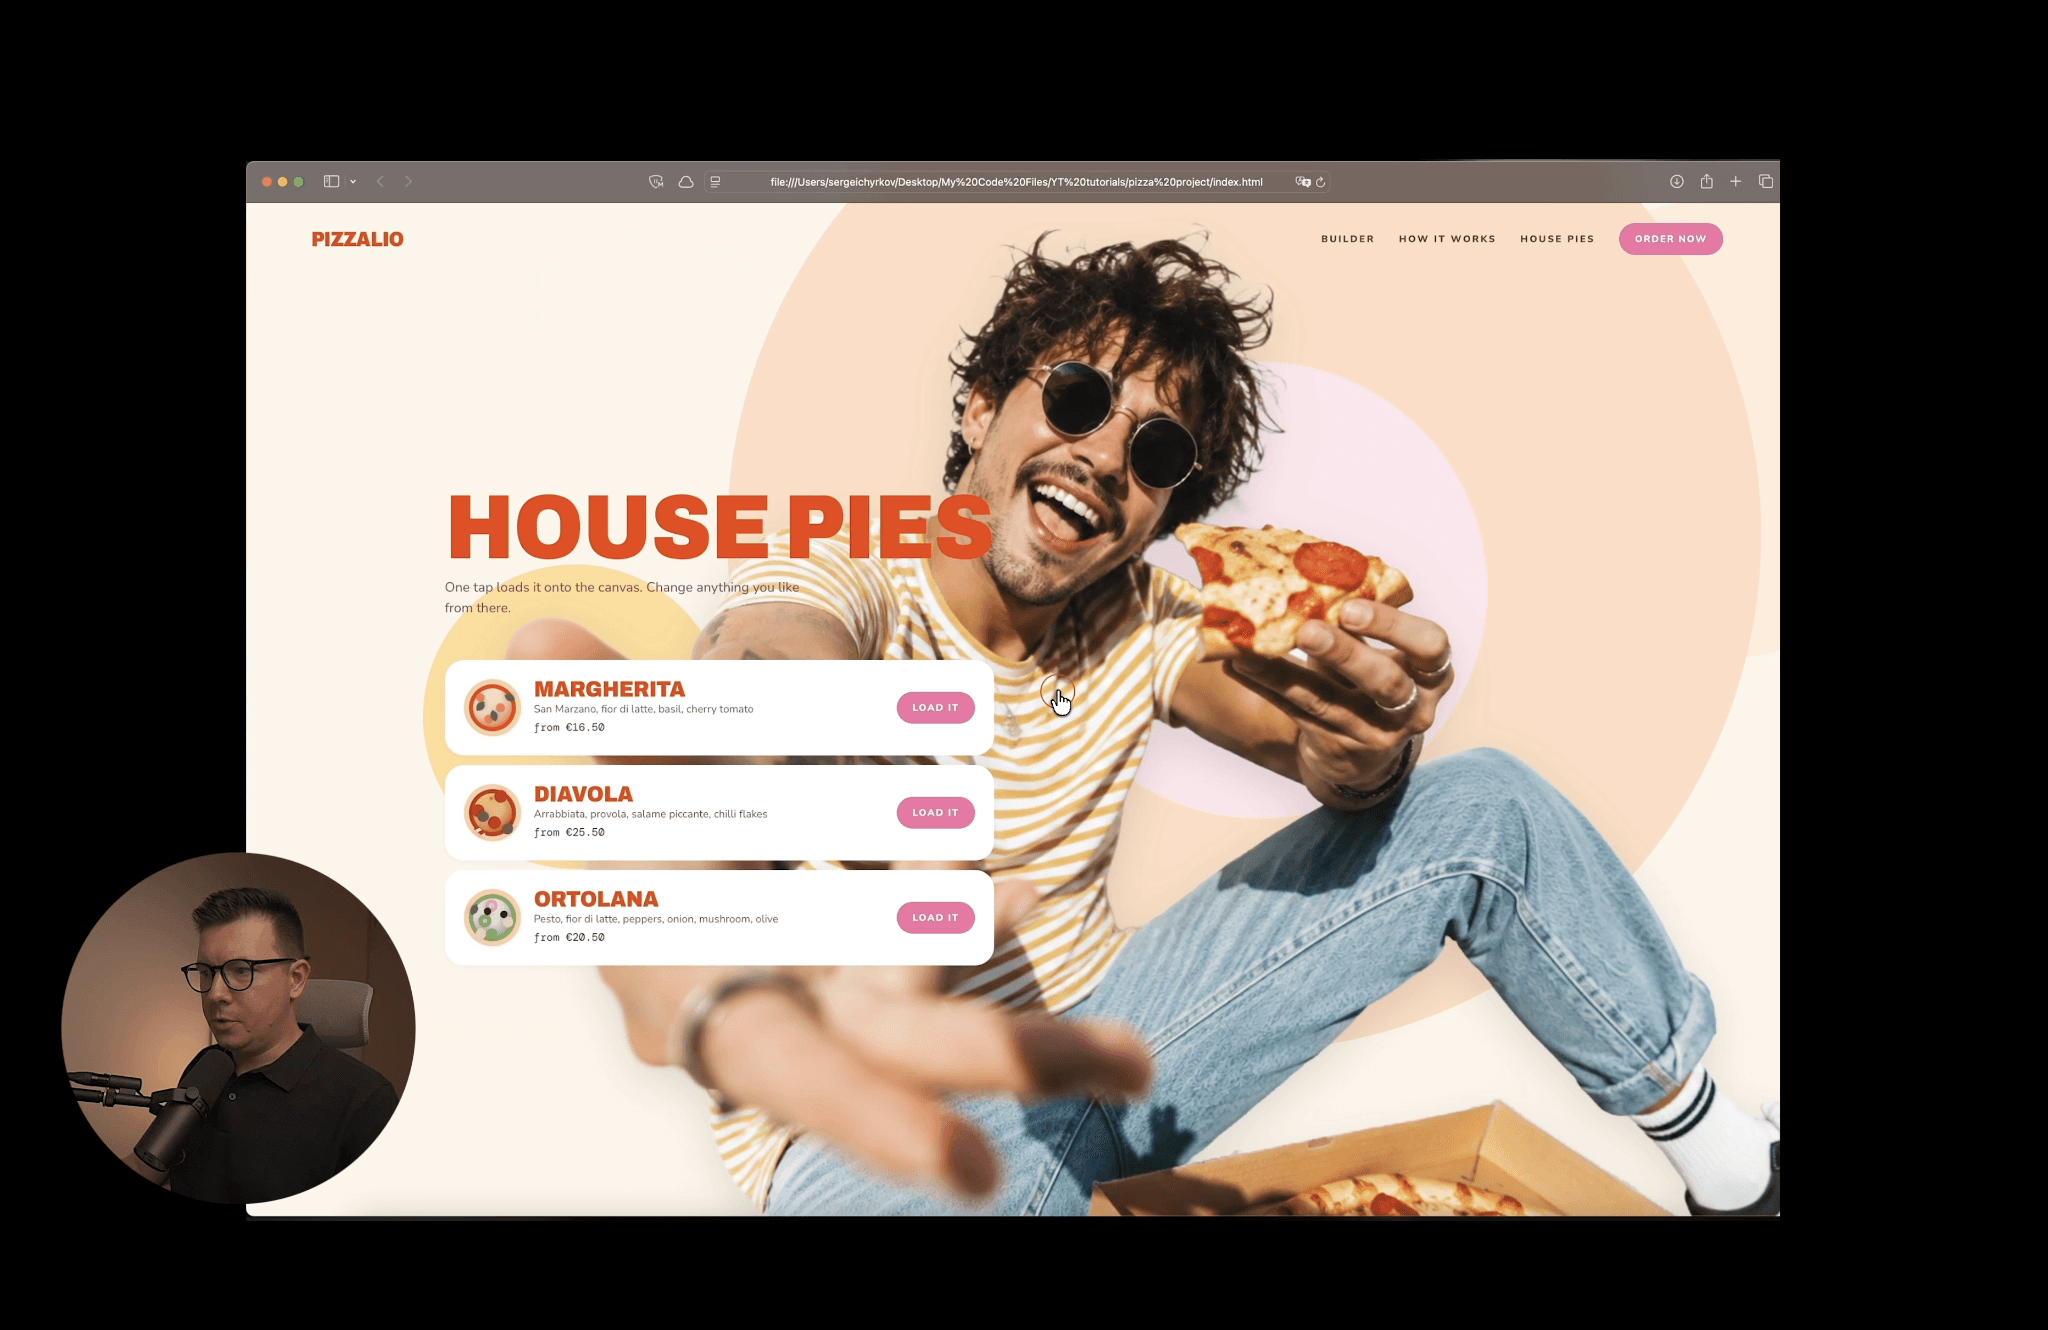
This is where the transformation really happens. In my case, the hero went from a half-page section to a full-viewport experience, a custom cursor got added automatically, parallax scrolling kicked in on scroll, and a horizontal-scroll section appeared with a bold tomato-red background that instantly felt more editorial and less “template.”
📌 A quick heads up here: Claude Design uses tokens fast, especially during this refinement stage. If you’re testing this workflow yourself, budget your usage accordingly — don’t be surprised if you hit limits mid-session like I did.
Step 4: Layer in Real Photos and Custom Imagery
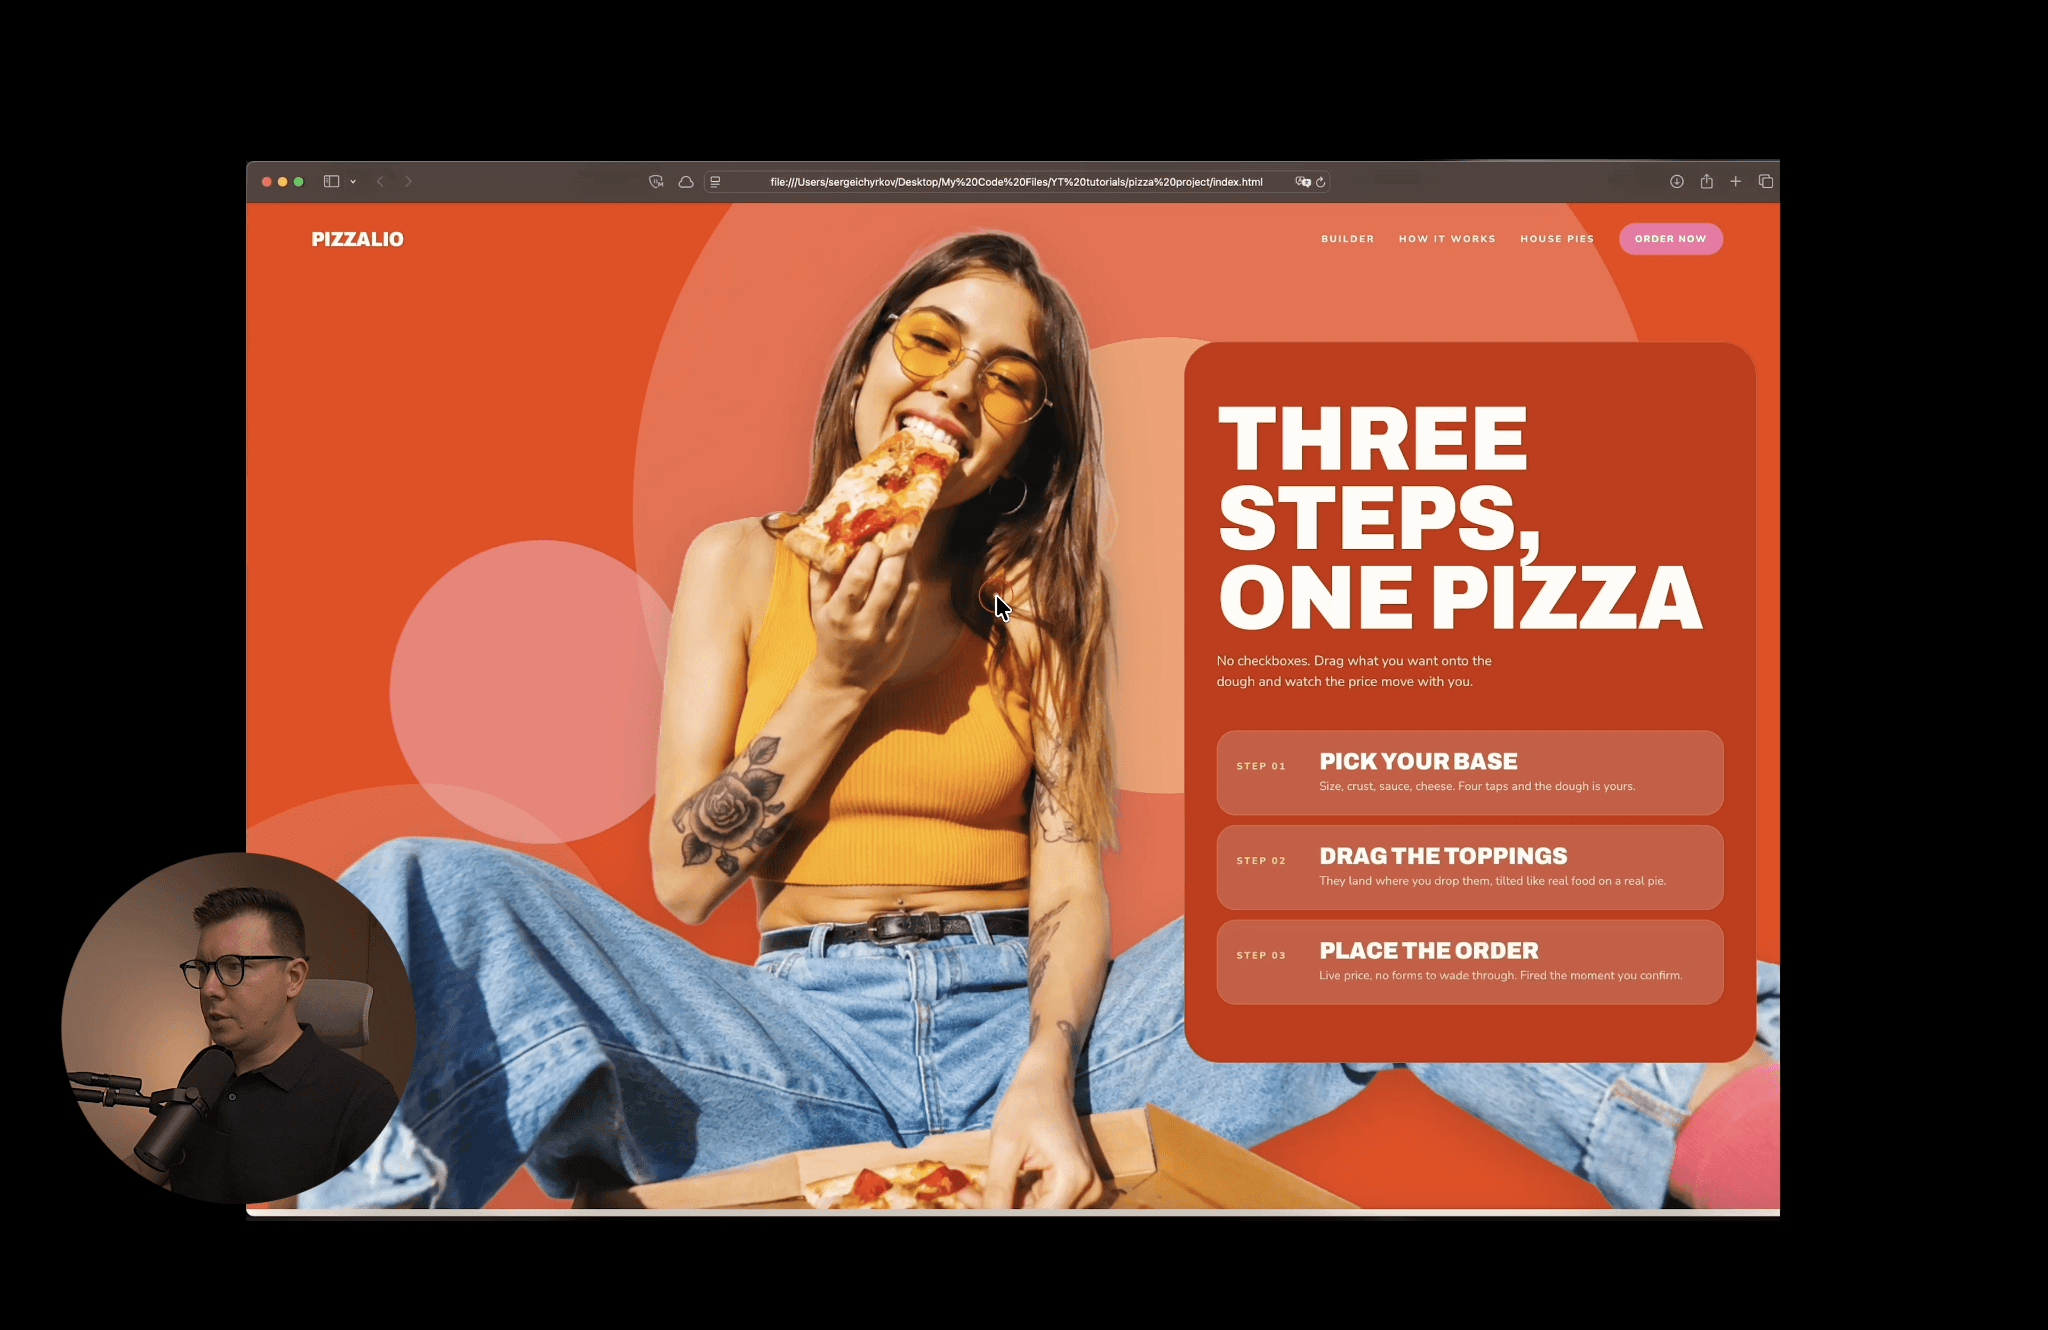
AI-generated illustrations are a dead giveaway of a generic AI site. So once the layout and animations were solid, I generated a handful of custom images (I used ChatGPT for quick image generation) and swapped them into the design — replacing the placeholder pizza illustration with an actual photo, and adding real-feeling character images throughout the page.
This single swap — illustration to photo — does more to kill the “obviously AI” look than almost anything else in this whole process.
Step 5: Send Your Design to Claude Code to Build the Real Website
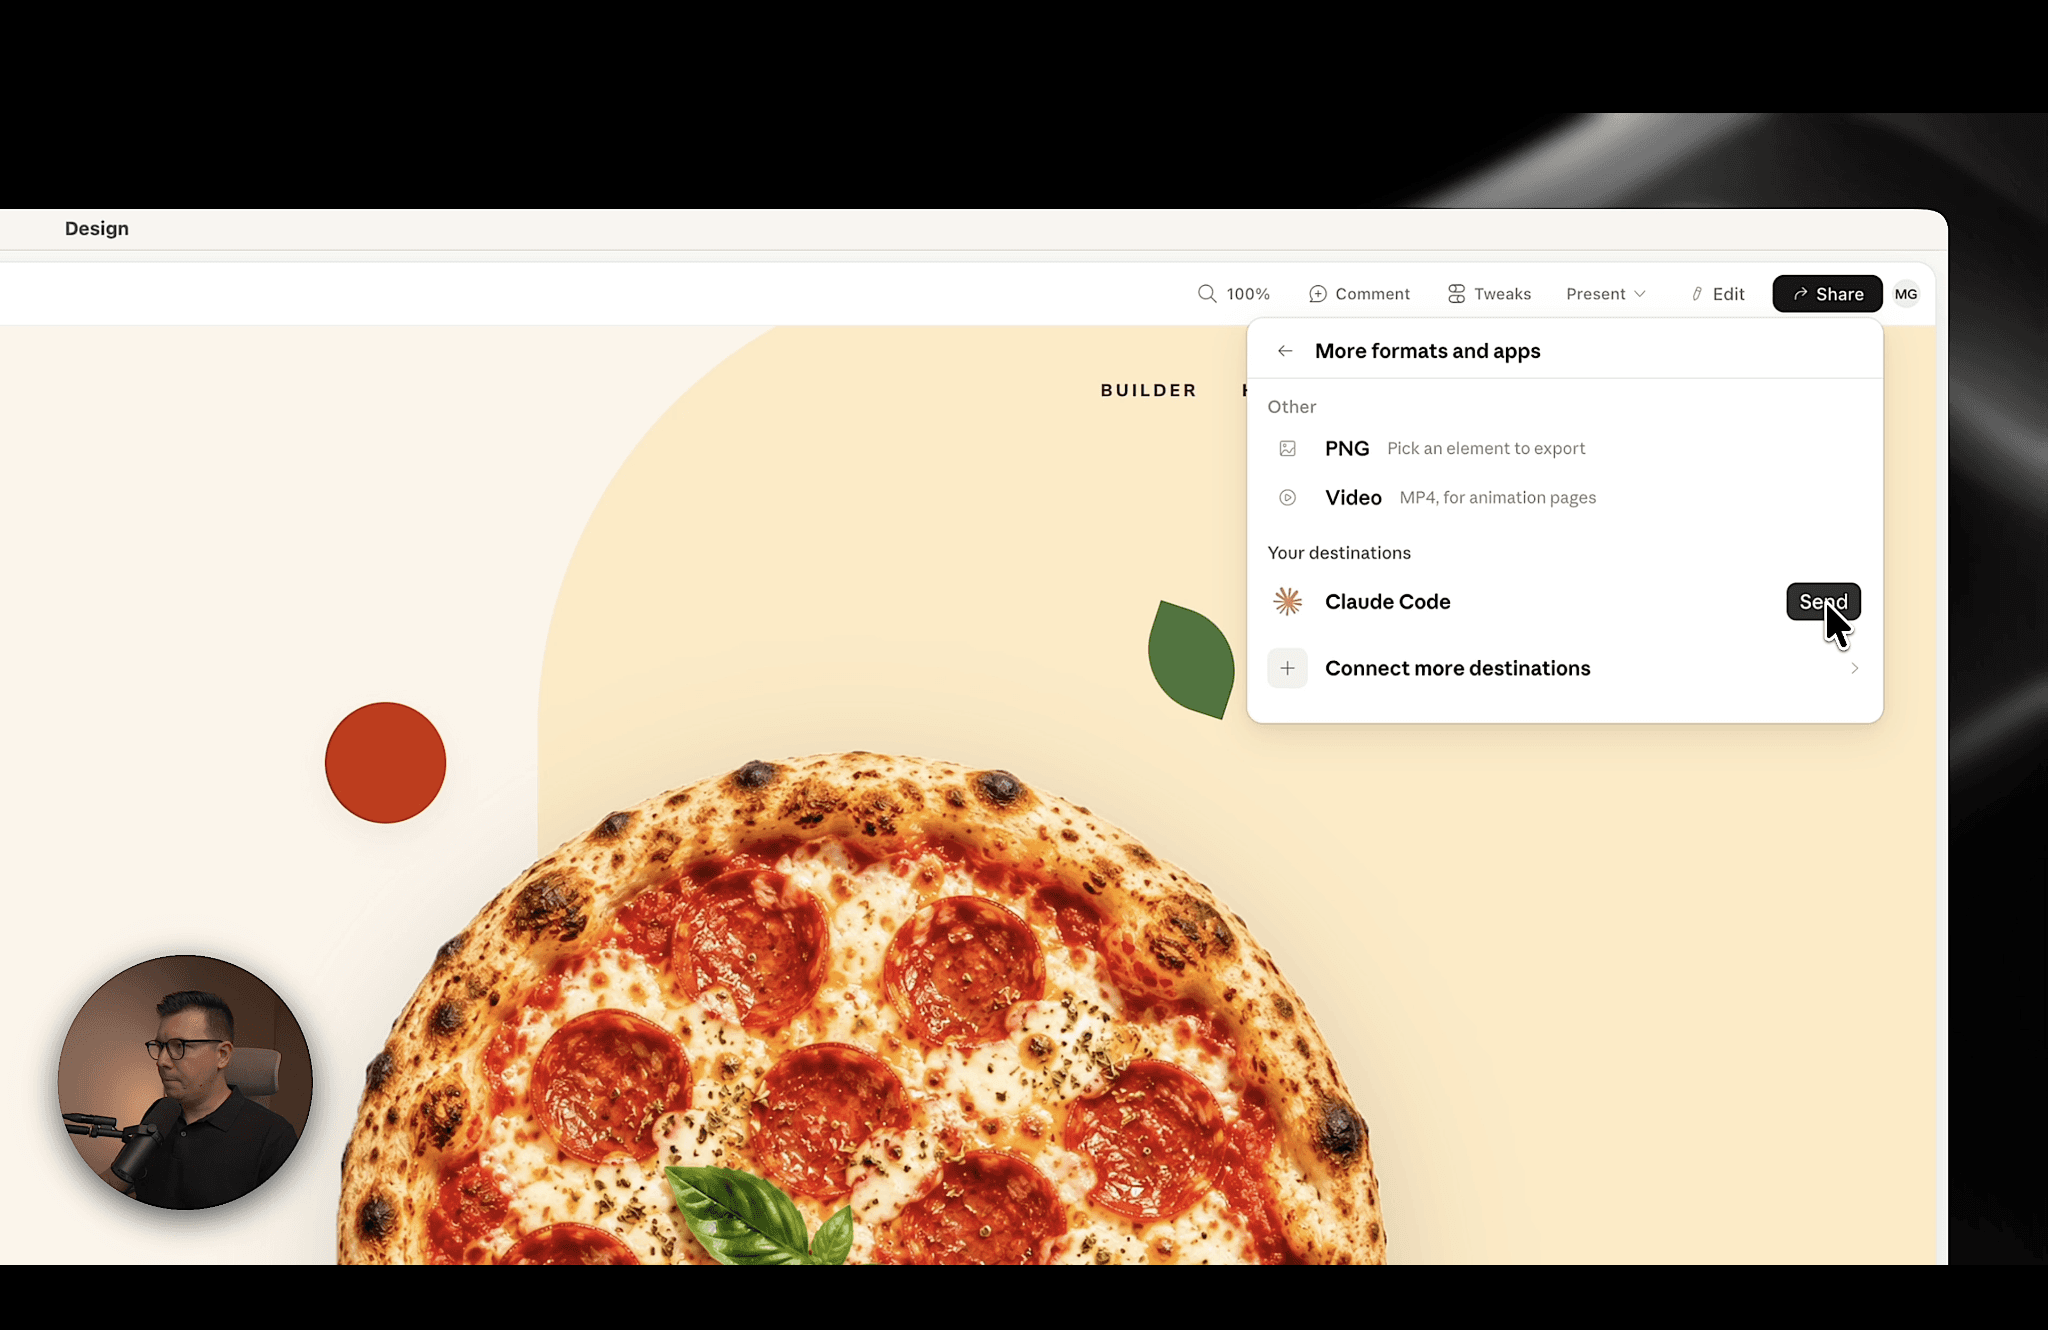
Once you’re happy with the layout in Claude Design, don’t keep burning tokens polishing pixels — hand it off. Under “share, more formats and apps,” you can send your project straight to Claude Code as a local agent, push it to a web session synced with GitHub, save it locally, or export it as a zip to open in a tool like Cursor.
I sent mine to Claude Code, pasted in the exported prompt, and let it build out the actual functioning site — cheaper and faster than continuing to iterate visually inside Claude Design itself. From there, I did a bit of manual polish on the hero section, and the final build kept all the parallax, slide-in animations, and photography intact.

Step 6: Reuse the Same Design System for Brand Assets
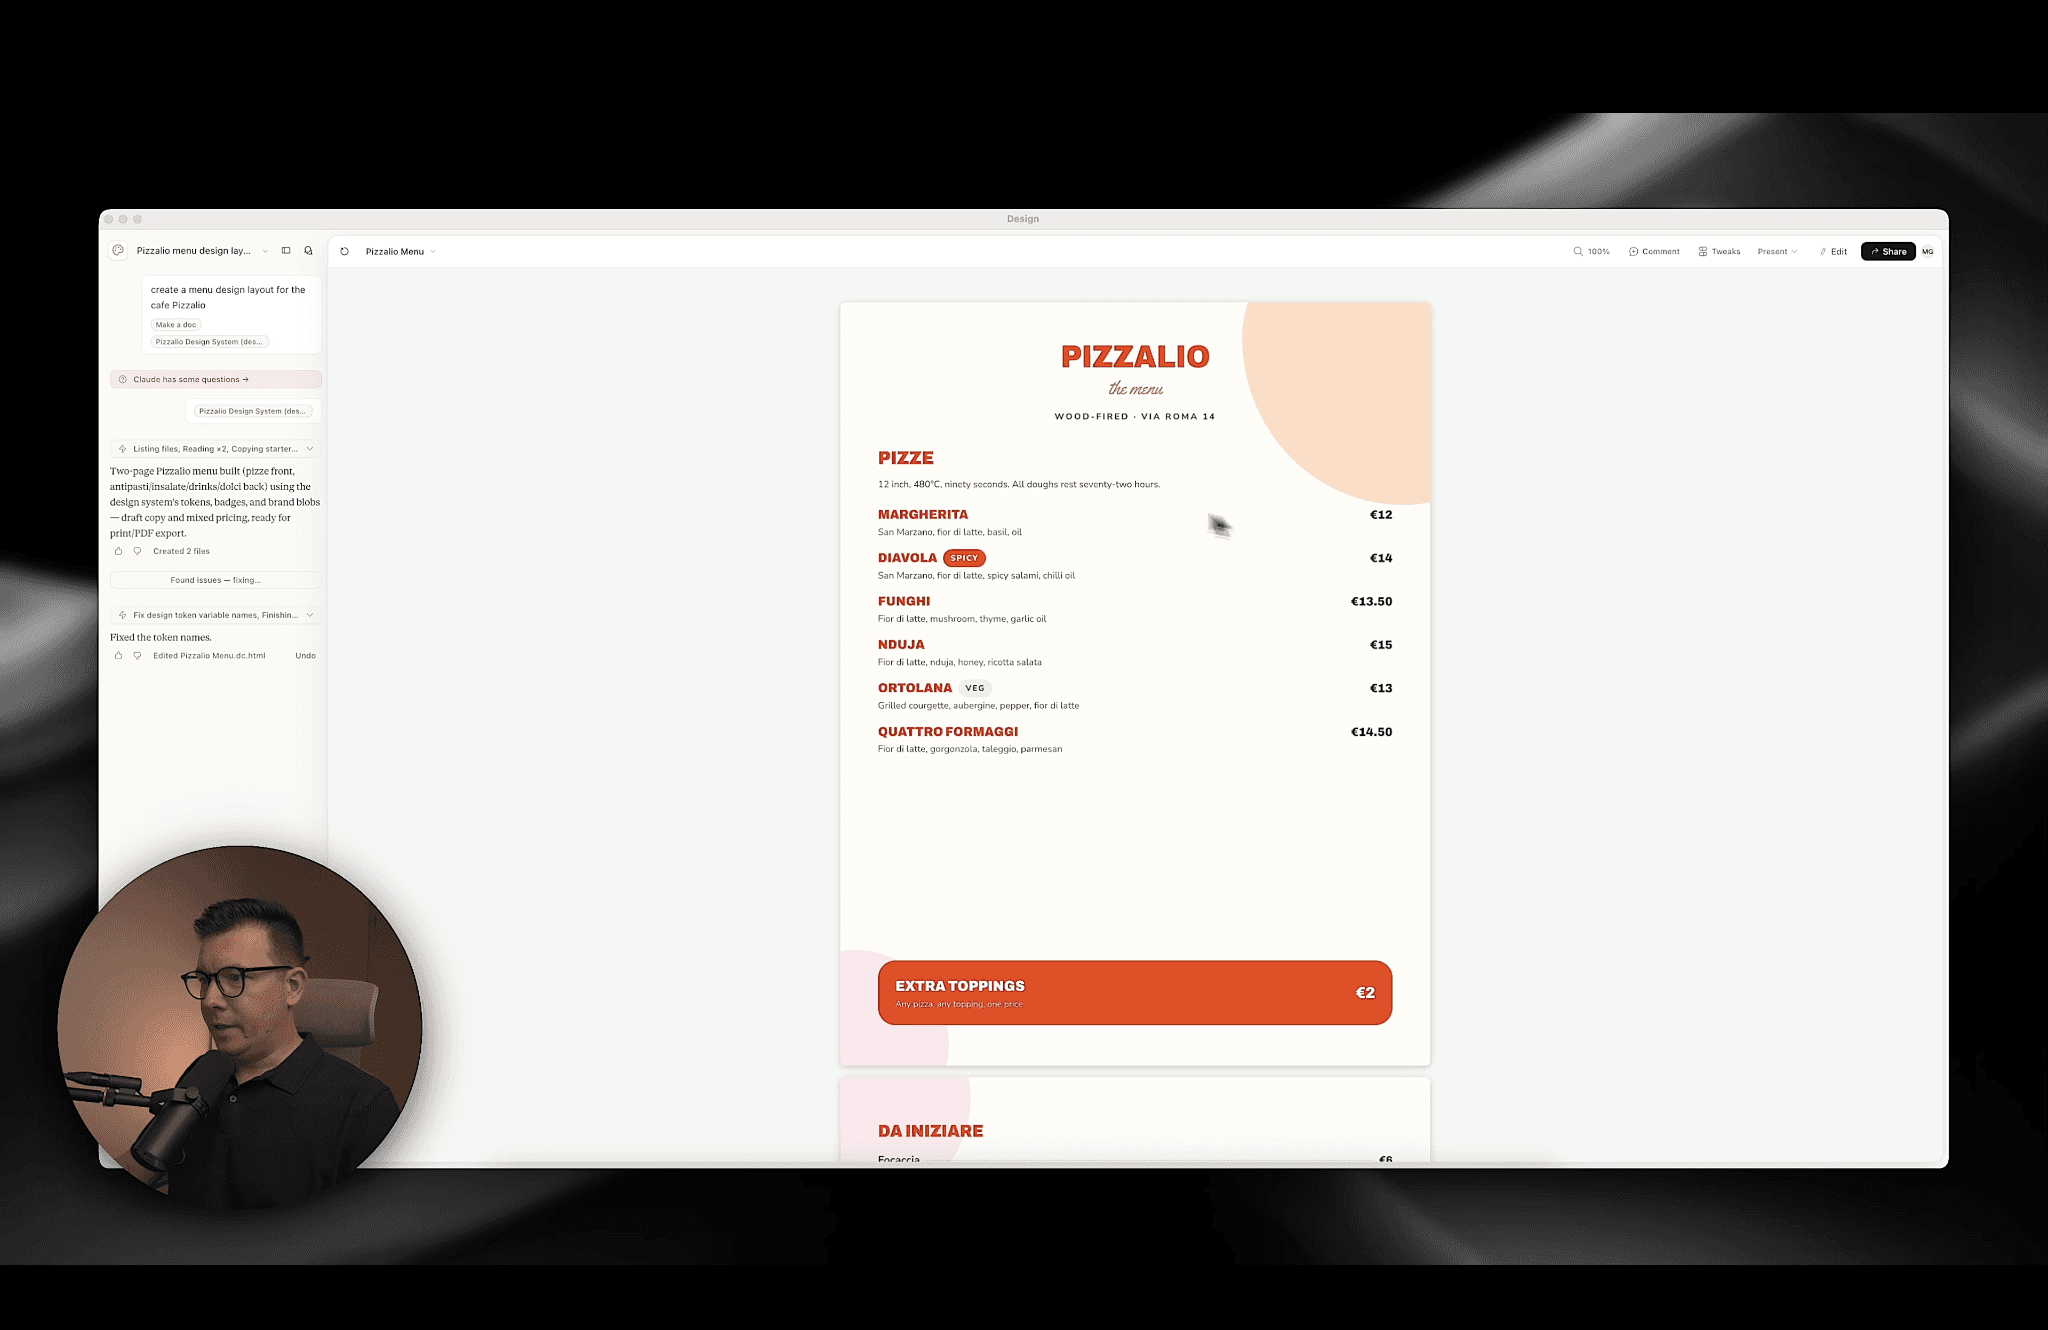
Here’s where this workflow really pays off long-term: that same design system doesn’t just work for your website. I used it again to generate a full single-page menu (pizzas, drinks, salads, 20 items, no photos — just styled type and layout) in the exact same visual language as the site. Took minutes, not hours.
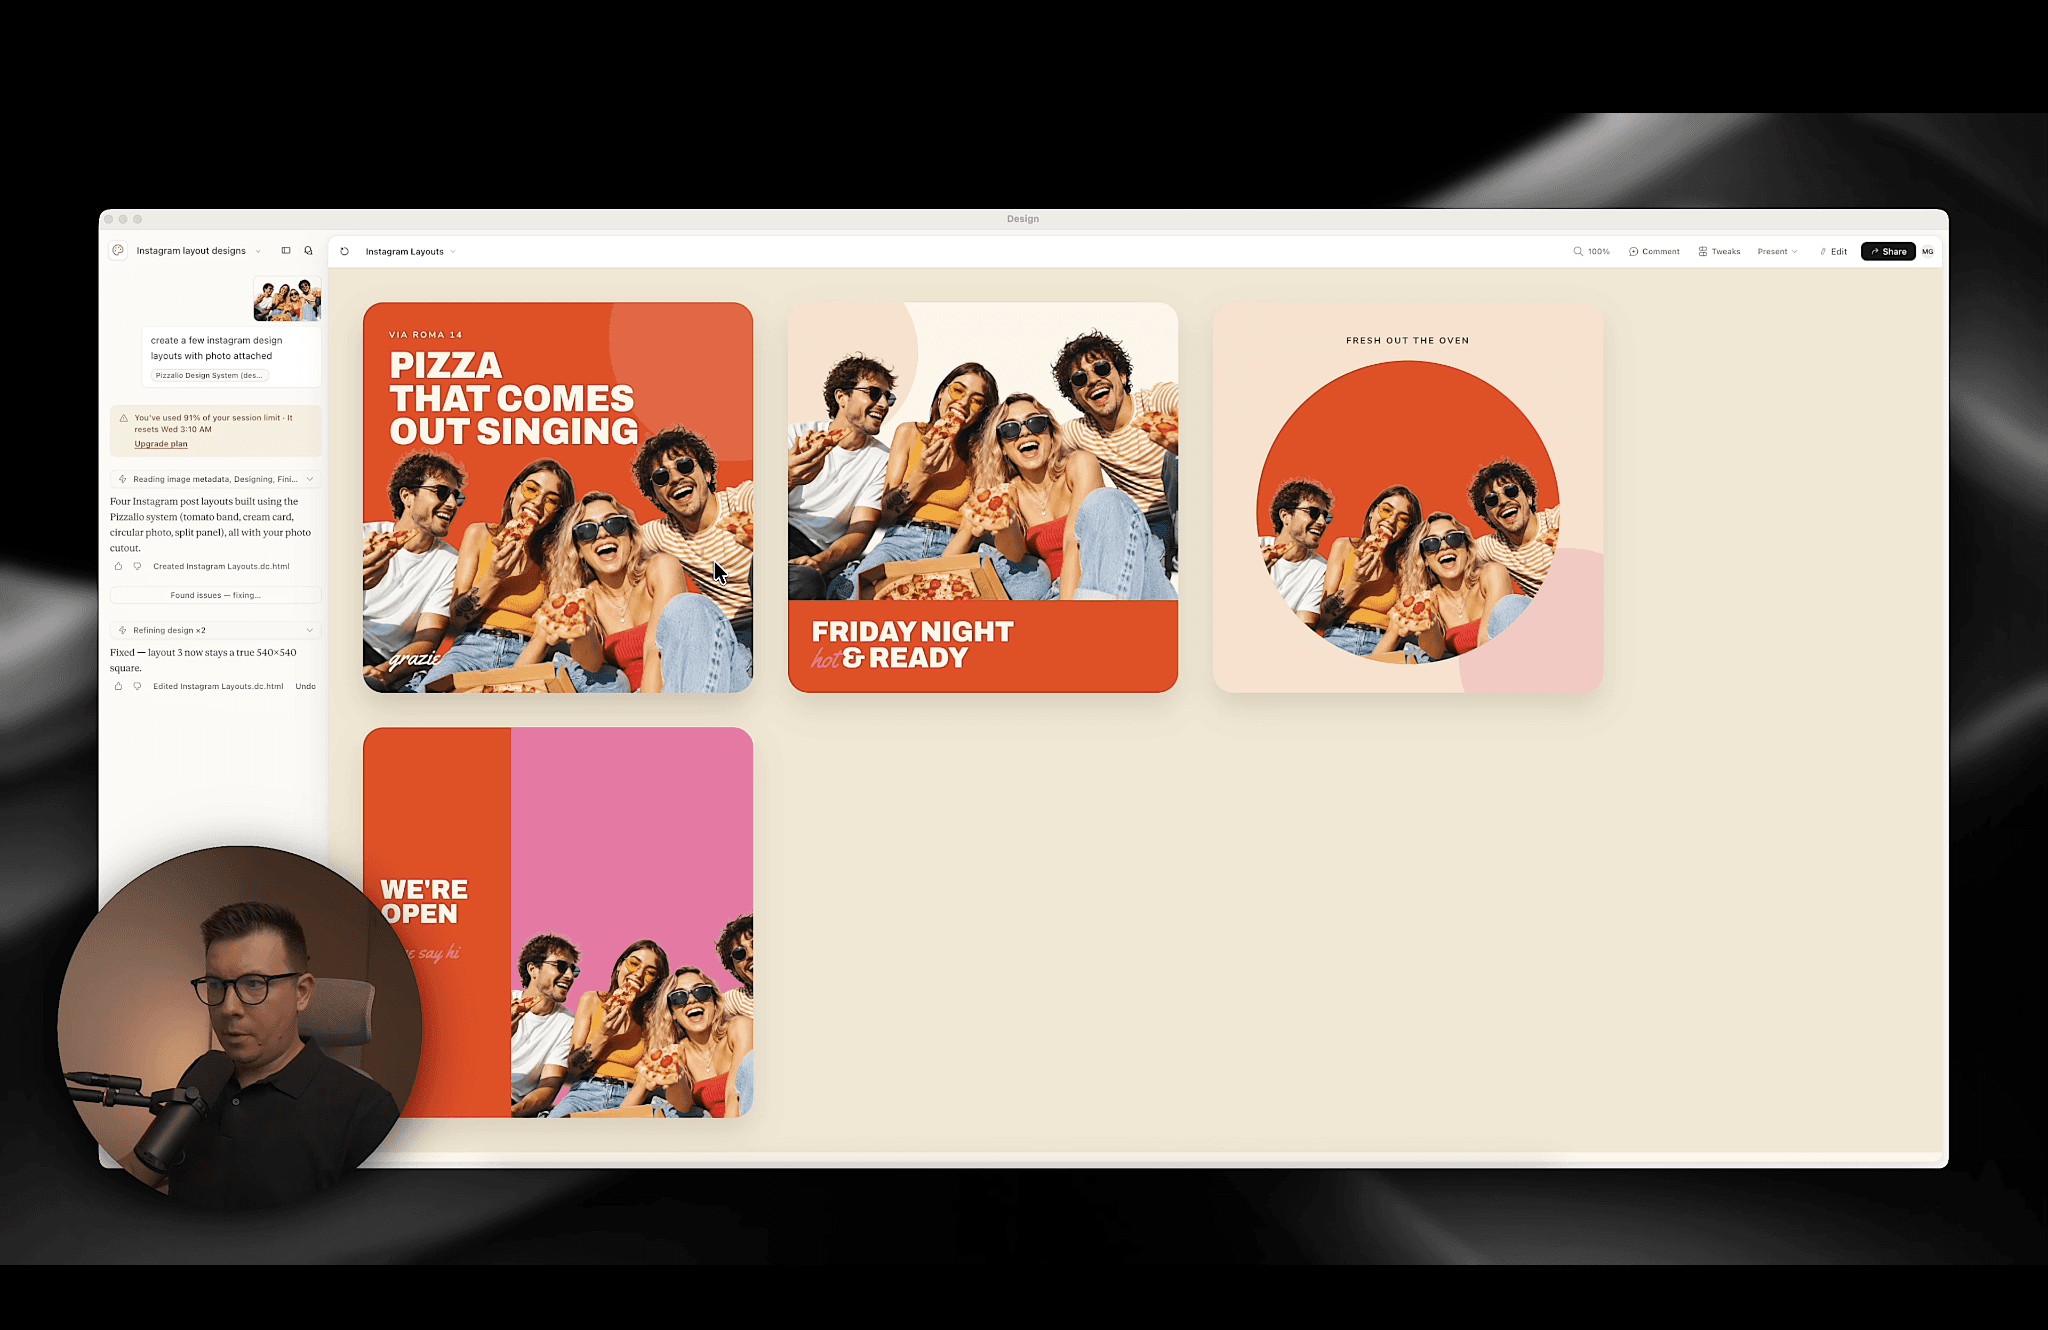
Then I went one step further and generated a batch of Instagram post layouts using the same design system and a product photo. Were they gallery-worthy? Not without some manual polish. But for anyone who isn’t a professional designer, having your website, menu, and social posts all visually consistent — automatically — is a massive time saver. 🤗
Actionable Tips You Can Apply Right Now
Never settle for the first output. Treat your first Claude Design generation as a rough draft, not a final answer.
Always feed in a real inspiration image before building your design system — don’t let the AI invent style from nothing.
Build the design system once, reuse it everywhere — website, menu, social assets, anything visual for that project.
Swap illustrations for real photos as one of your last steps — it’s a small change with a disproportionately big visual payoff.
Move to Claude Code once the layout is locked — it’s more token-efficient than continuing to iterate visually inside Claude Design.
Final Thoughts
The gap between a “generic AI website” and a “professional-looking AI-assisted website” isn’t really about which AI tool you use — it’s about building a repeatable Claude Design workflow around real inspiration, a proper design system, and knowing when to hand things off to code. Once you build this process once, you can reuse it across every future project, and honestly, it makes designing with AI feel a lot less like gambling and a lot more like actual design work.
👉 View live: https://pizza-project-claude-design.vercel.app
If you want to see this entire process in action step-by-step, go watch the full video — and if you found this useful, subscribe to my newsletter so you don’t miss the next AI design workflow breakdown. 👀
FAQs
What is Claude Design and how is it different from regular Claude chat?
How do you make AI-generated websites look less generic?
What is a design system in Claude Design?
Can I use the same design system for more than just a website?
Why should I move my design from Claude Design into Claude Code?
See more from me in Google Search
Add sergeichyrkov.com as a preferred source to get my tutorials and articles highlighted in Top Stories and AI Overviews.