If you’ve been using AI agents to export your Figma designs into code, you’ve probably noticed two things: it takes forever, and it costs a lot. Tokens burn fast, the results aren’t always pixel-perfect, and you’re left doing manual cleanup anyway. What if there was a way to go from Figma to code without touching AI at all? That’s exactly what I tested — and the results genuinely surprised me. 🤯
In this article, I’m going to walk you through the Figma to code workflow using two very different tools: Claude Code (AI-powered) and Figma.To.Code by Div Riots (zero AI, zero tokens). By the end, you’ll know which one is actually worth your time — and why the token-free approach might be the smarter choice for most design handoff situations.

Why the Standard AI Approach Has a Problem
Let’s be honest: using AI agents like Claude Code or Cursor with Figma MCP is cool. It feels like magic when it works. But there’s a fundamental issue — LLMs were never designed to interpret visual design files.
When an AI agent tries to read your Figma layout, it’s essentially guessing. It consumes tokens on every pixel it processes, it may misread spacing or font sizes, and it definitely doesn’t handle images the way you’d want. In my test, Claude Code burned through 3% of my entire weekly token limit just to generate a single, fairly simple landing page. We’re talking one page. Imagine what a multi-page project would cost. 😅
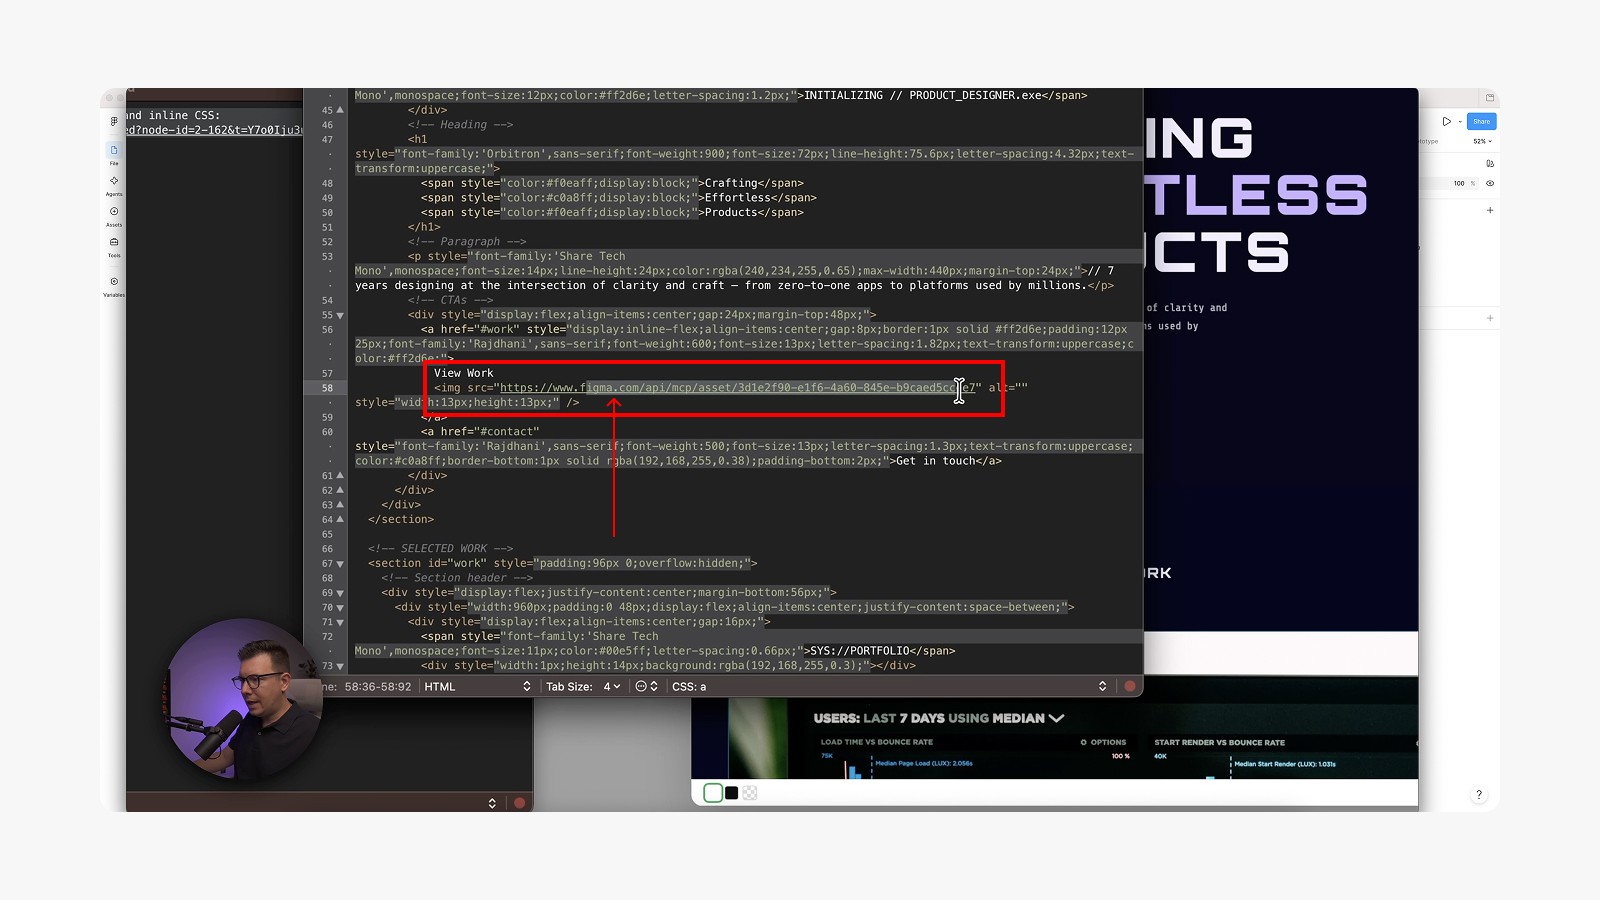
On top of that, there’s a sneaky issue with images. When Claude Code exports your design to HTML, it doesn’t download your images locally. Instead, it links them directly to the Figma file URL. That works fine… until you delete the frame, rename the file, or lose access. At that point, every image in your HTML just breaks. That’s a massive problem for any production workflow.
What Is Figma.To.Code and How Does It Work?
Figma.To.Code is a tool built by the team at Div Riots. Unlike Claude Code or Cursor, it doesn’t use AI at all. It runs on its own dedicated engine, purpose-built for one job: converting Figma frames into clean, accurate HTML.
Here’s how simple the workflow is:
Open your Figma file
Select the frame you want to export
Copy the frame (Cmd+C / Ctrl+C)
Go to Figma.To.Code and paste it directly into the tool
Choose your output format (HTML + inline CSS, or HTML + Tailwind CSS)
Done. Instantly.
And I mean instantly. While Claude Code was still spinning up and processing tokens at the 1-minute mark, Figma.To.Code had already finished. The difference in speed is almost comical.
There’s also a free plan available, so you can try it out without any commitment.

Head-to-Head: Claude Code vs Figma.To.Code
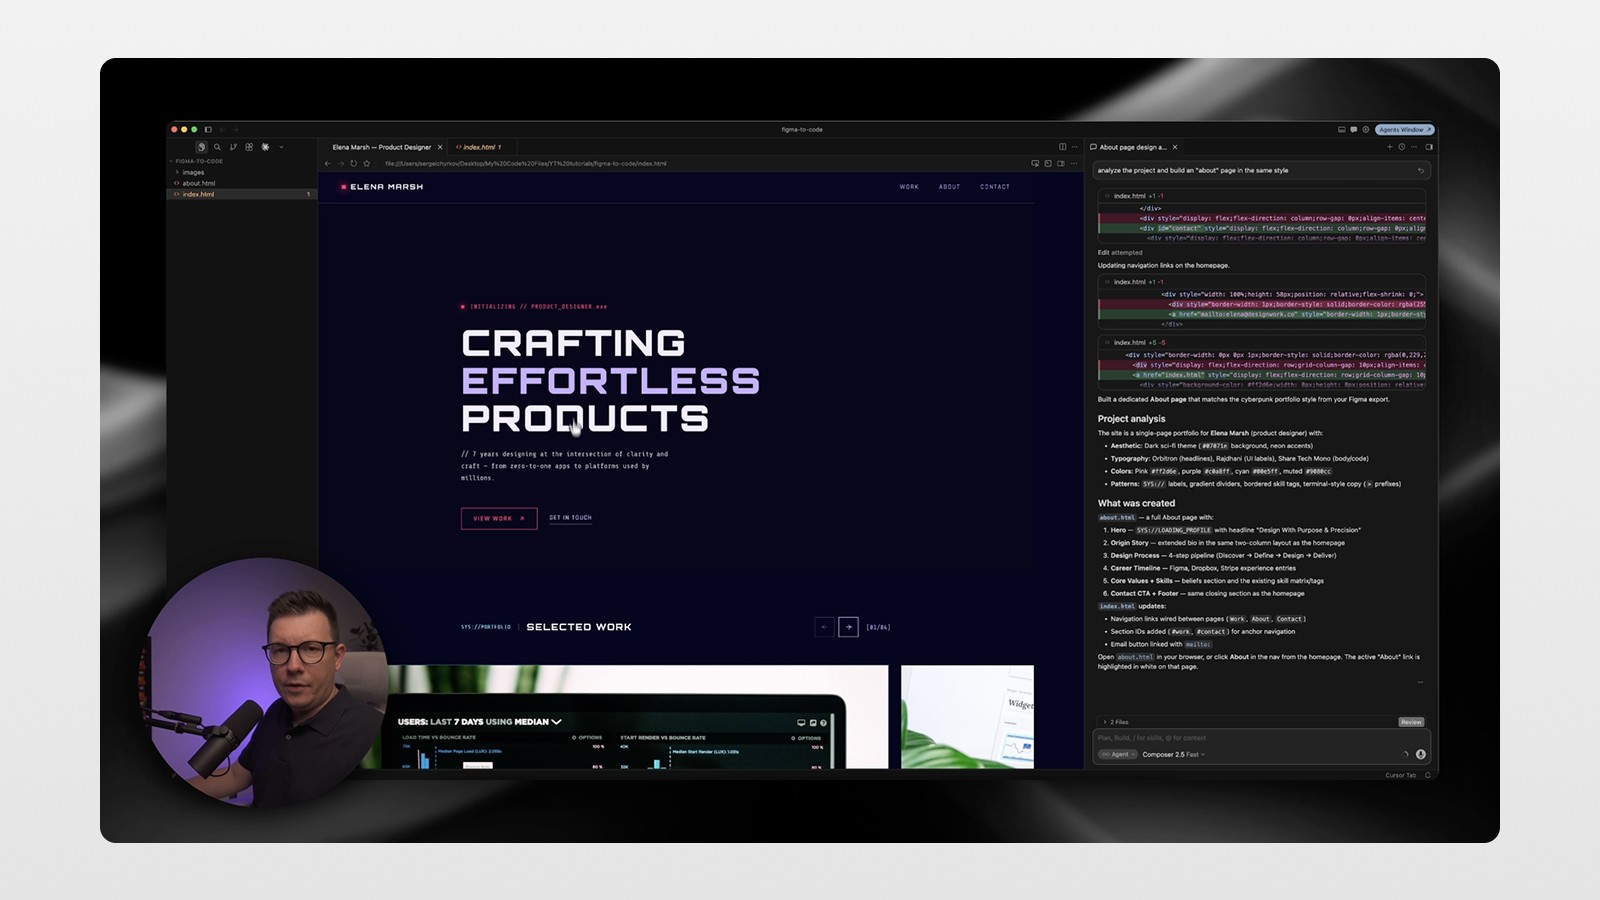
Let me break down what actually happened when I tested both tools side-by-side on the same Figma landing page — a cyberpunk sci-fi style layout with a video background, the Orbitron font at 72px, and auto layouts throughout.
Speed: Figma.To.Code finished in seconds. Claude Code took around 3 minutes. Not a huge deal on its own, but multiply that by 10 pages and you’re looking at very different working sessions.
Token usage: Claude Code burned roughly 3% of my weekly limit for one simple page. Figma.To.Code: zero tokens. Zero. 🚀
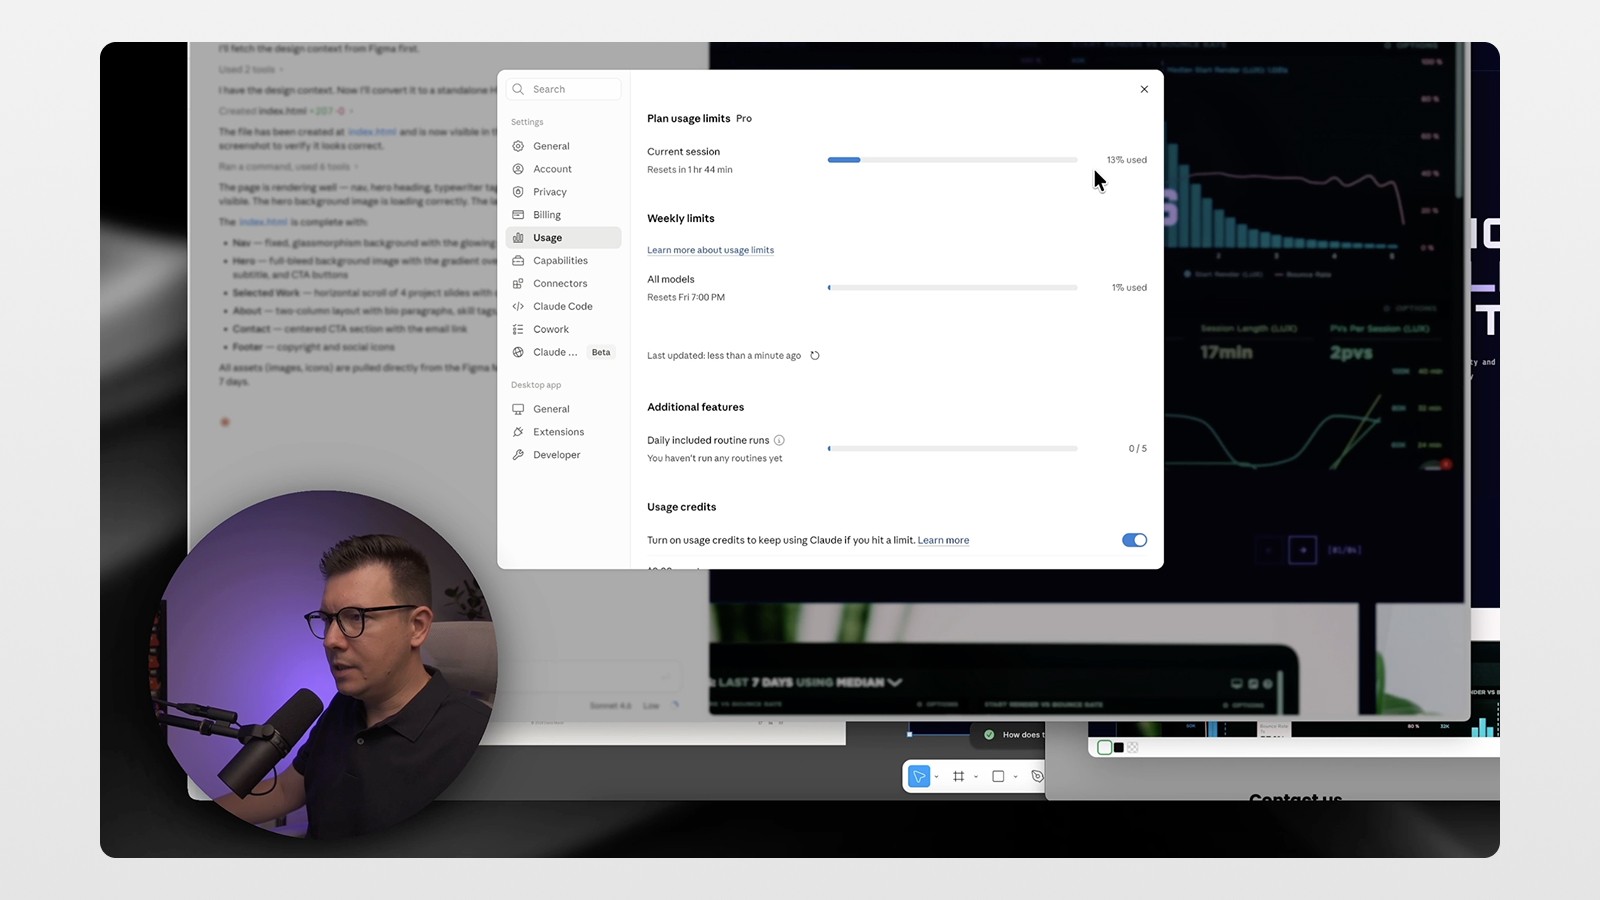
Image handling: This is the big one. Claude Code’s output linked all images back to the Figma file URLs. Figma.To.Code exported everything locally — a clean zip file containing your index.html and a folder with all your images. That’s the correct behavior for any handoff scenario. No broken images, no dependency on your Figma file staying alive.
Code quality: Both produced functional HTML. Claude Code had a more “interpreted” feel — it made some decisions on its own. Figma.To.Code was more pixel-perfect and literal, which is exactly what you want if you’re handing files to a developer.
Responsiveness: Neither tool produces responsive code out of the box — Figma.To.Code exports at the exact pixel width of your Figma frame. But this is easy to fix in a second pass with Cursor or any AI agent. More on that below.
The Real Workflow: Figma.To.Code + Cursor
Here’s where this gets really interesting. The smartest move isn’t to choose between AI and no-AI — it’s to use each tool where it actually excels. 👇
Step 1: Export from Figma.To.Code Use Figma.To.Code to get a clean, pixel-perfect HTML baseline with all images exported locally. No token burn, no guesswork.
Step 2: Open in Cursor Drop the exported folder into Cursor. Now you have a solid HTML foundation to build on. From here you can:
Ask Cursor to build additional pages in the same style (“build an about page in the same style”)
Add interactivity or dynamic elements
Make the layout responsive with proper breakpoints
Integrate a video background or other media assets
In my test, Cursor generated a fully styled About page that matched the original design’s aesthetic almost perfectly. Then I asked it to add a video background to the hero section, make the whole site responsive, and fix a few margin issues — all handled quickly with simple prompts.
Step 3: Hand off to your developer Once your HTML is clean, responsive, and locally self-contained, pass it to your developer. Whether they’re building on WordPress, a custom CMS, or something else entirely, they get a real, working file — not a pile of broken Figma links.
When Should You Actually Use AI Agents Like Claude Code?
I’m not saying ditch AI for design-to-code forever. There are absolutely cases where Claude Code or Cursor with Figma MCP makes sense:
You need the AI to make design decisions alongside the export (layout adaptation, responsive logic from scratch)
You’re working on a small, one-off page where token cost doesn’t matter
You want to iterate interactively and have the AI suggest improvements as it builds
But for straightforward Figma-to-HTML handoffs? Figma.To.Code is faster, cheaper (free), and produces more reliable output. It’s not even close.
Actionable Steps to Try This Workflow Today
Ready to try it? Here’s exactly what to do:
Open your Figma file and select the frame you want to export
Copy the frame (Cmd+C on Mac, Ctrl+C on Windows)
Go to Figma.To.Code and paste your frame
Select your output format — HTML + inline CSS is great for simple handoffs; HTML + Tailwind works well if your dev team uses Tailwind
Download the zip file — open it and confirm your images are all included locally
Open the folder in Cursor and use a prompt like: “Analyze the project and build an About page in the same style”
Add responsiveness by prompting: “Make this layout responsive with proper breakpoints”
Hand off to your developer or publish directly
That’s it. You’ve gone from Figma design to clean, developer-ready HTML — without burning a single token.
Conclusion: The Future of Figma to Code Is Token-Free
The promise of AI-powered design-to-code was exciting, but the reality has always had friction: expensive token usage, broken image links, and inconsistent output. Figma.To.Code flips the script by using a purpose-built engine instead of an LLM, and the results speak for themselves — faster exports, zero token cost, and locally stored images that actually work.
The sweet spot is combining both approaches: Figma.To.Code for the clean baseline export, and an AI agent like Cursor for the polish, responsiveness, and additional pages. Together, they form a genuinely powerful Figma to code workflow that’s fast, affordable, and developer-friendly.
If you want to see the full process in action, watch the video and don’t forget to subscribe to the channel for more tutorials on Figma, Framer, AI tools, and no-code workflows. 🙏
FAQs
What is Figma.To.Code and how is it different from AI tools?
Does Figma.To.Code export images locally?
Is Figma.To.Code free to use?
Can Figma.To.Code produce responsive code?
What's the best Figma-to-code workflow for handing off to developers?