I’ve built several SaaS products with AI in just one week. And every time I share that, I get the same reaction: “Wait, you just open an AI code editor, type a prompt, and boom — finished product?” 😅
Nope. Not even close.
That’s the biggest misconception about how to build a SaaS product with AI, and honestly, it’s the one that gets people stuck the fastest. They open Cursor or Claude Code, type something vague like “build me a subscription app,” get a half-working mess back, and give up thinking AI just isn’t there yet.
Here’s the thing: AI is there. But building with AI isn’t about typing one magic prompt. It’s a whole process — idea validation, planning, design iteration, backend setup, email flows, payments, deployment — and knowing where AI does the heavy lifting and where you need to step in and steer.
In this article, I’m walking you through the exact workflow I used to build a real, working SaaS product (a movies watch-time calculator with user profiles, watchlists, and paid subscriptions) using AI tools like Claude, Cursor, Supabase, and Vercel. By the end, you’ll have a clear, repeatable process for turning an AI-generated prototype into something you can actually ship and sell — instead of a sloppy demo that never leaves your localhost.

Why “Just Prompt It” Doesn’t Work
When people ask how to build a SaaS product with AI, they’re usually picturing a single conversation with an AI code editor that spits out a finished app. In reality, an AI code editor is just one tool in a much longer chain. Skip the steps before and after it, and you end up with something generic, fragile, and hard to build on.
The workflow that actually works looks more like this:
Validate and scope the idea (with an AI chat model, not a code editor)
Plan the implementation
Build the first prototype
Iterate on design using real UI references
Set up the backend, auth, and email
Add monetization
Deploy and connect your domain
Let’s go through each one.
Step 1: Validate Your Idea Before You Touch Code
This is the part almost everyone skips, and it’s the most important one. Before opening any AI code editor, I talk to Claude to validate the idea itself.
In this conversation, I explain what I want to build, what the first set of features should be, and — critically — whether I’ll need any APIs and what the backend requirements look like. For my movies calculator project, this is where I figured out I’d need the IMDb API for movie data.
The goal here isn’t code. It’s clarity. You’re building what’s called an MVP — a minimal valuable product — meaning you deliberately scope down to the core functionality that lets you start building and improving later. Trying to plan every feature up front is how projects stall before they start.
By the end of this validation conversation, you should have one deliverable: a master prompt document that describes what you’re building and how it’s going to work. This single file becomes the foundation for everything that follows.
📌 Actionable tip: Don’t skip straight to your code editor. Spend 20–30 minutes in a chat with Claude scoping your MVP, your core feature, and your API/backend needs first. Save that as a project document.
Step 2: Turn Your Master Prompt into an Implementation Plan
Once you’ve got your master prompt document, create a project folder — it doesn’t matter if you’re using Claude Code or Cursor. Drop your project information document into it.
From here, tell your AI agent to examine that file and create an implementation plan using plan mode. This gives you a structured breakdown of how the project will actually be built, before any code gets written.
Then switch to your agent and pick a model. This is where you have options — Grok’s latest version, Composer 2.5 (which is fast, cheap, and performs close to Opus-level output in many cases), or whichever model fits your budget and speed needs. The specific model matters less than having a plan for it to follow.
Step 3: Expect a Generic First Draft (And Iterate From There)
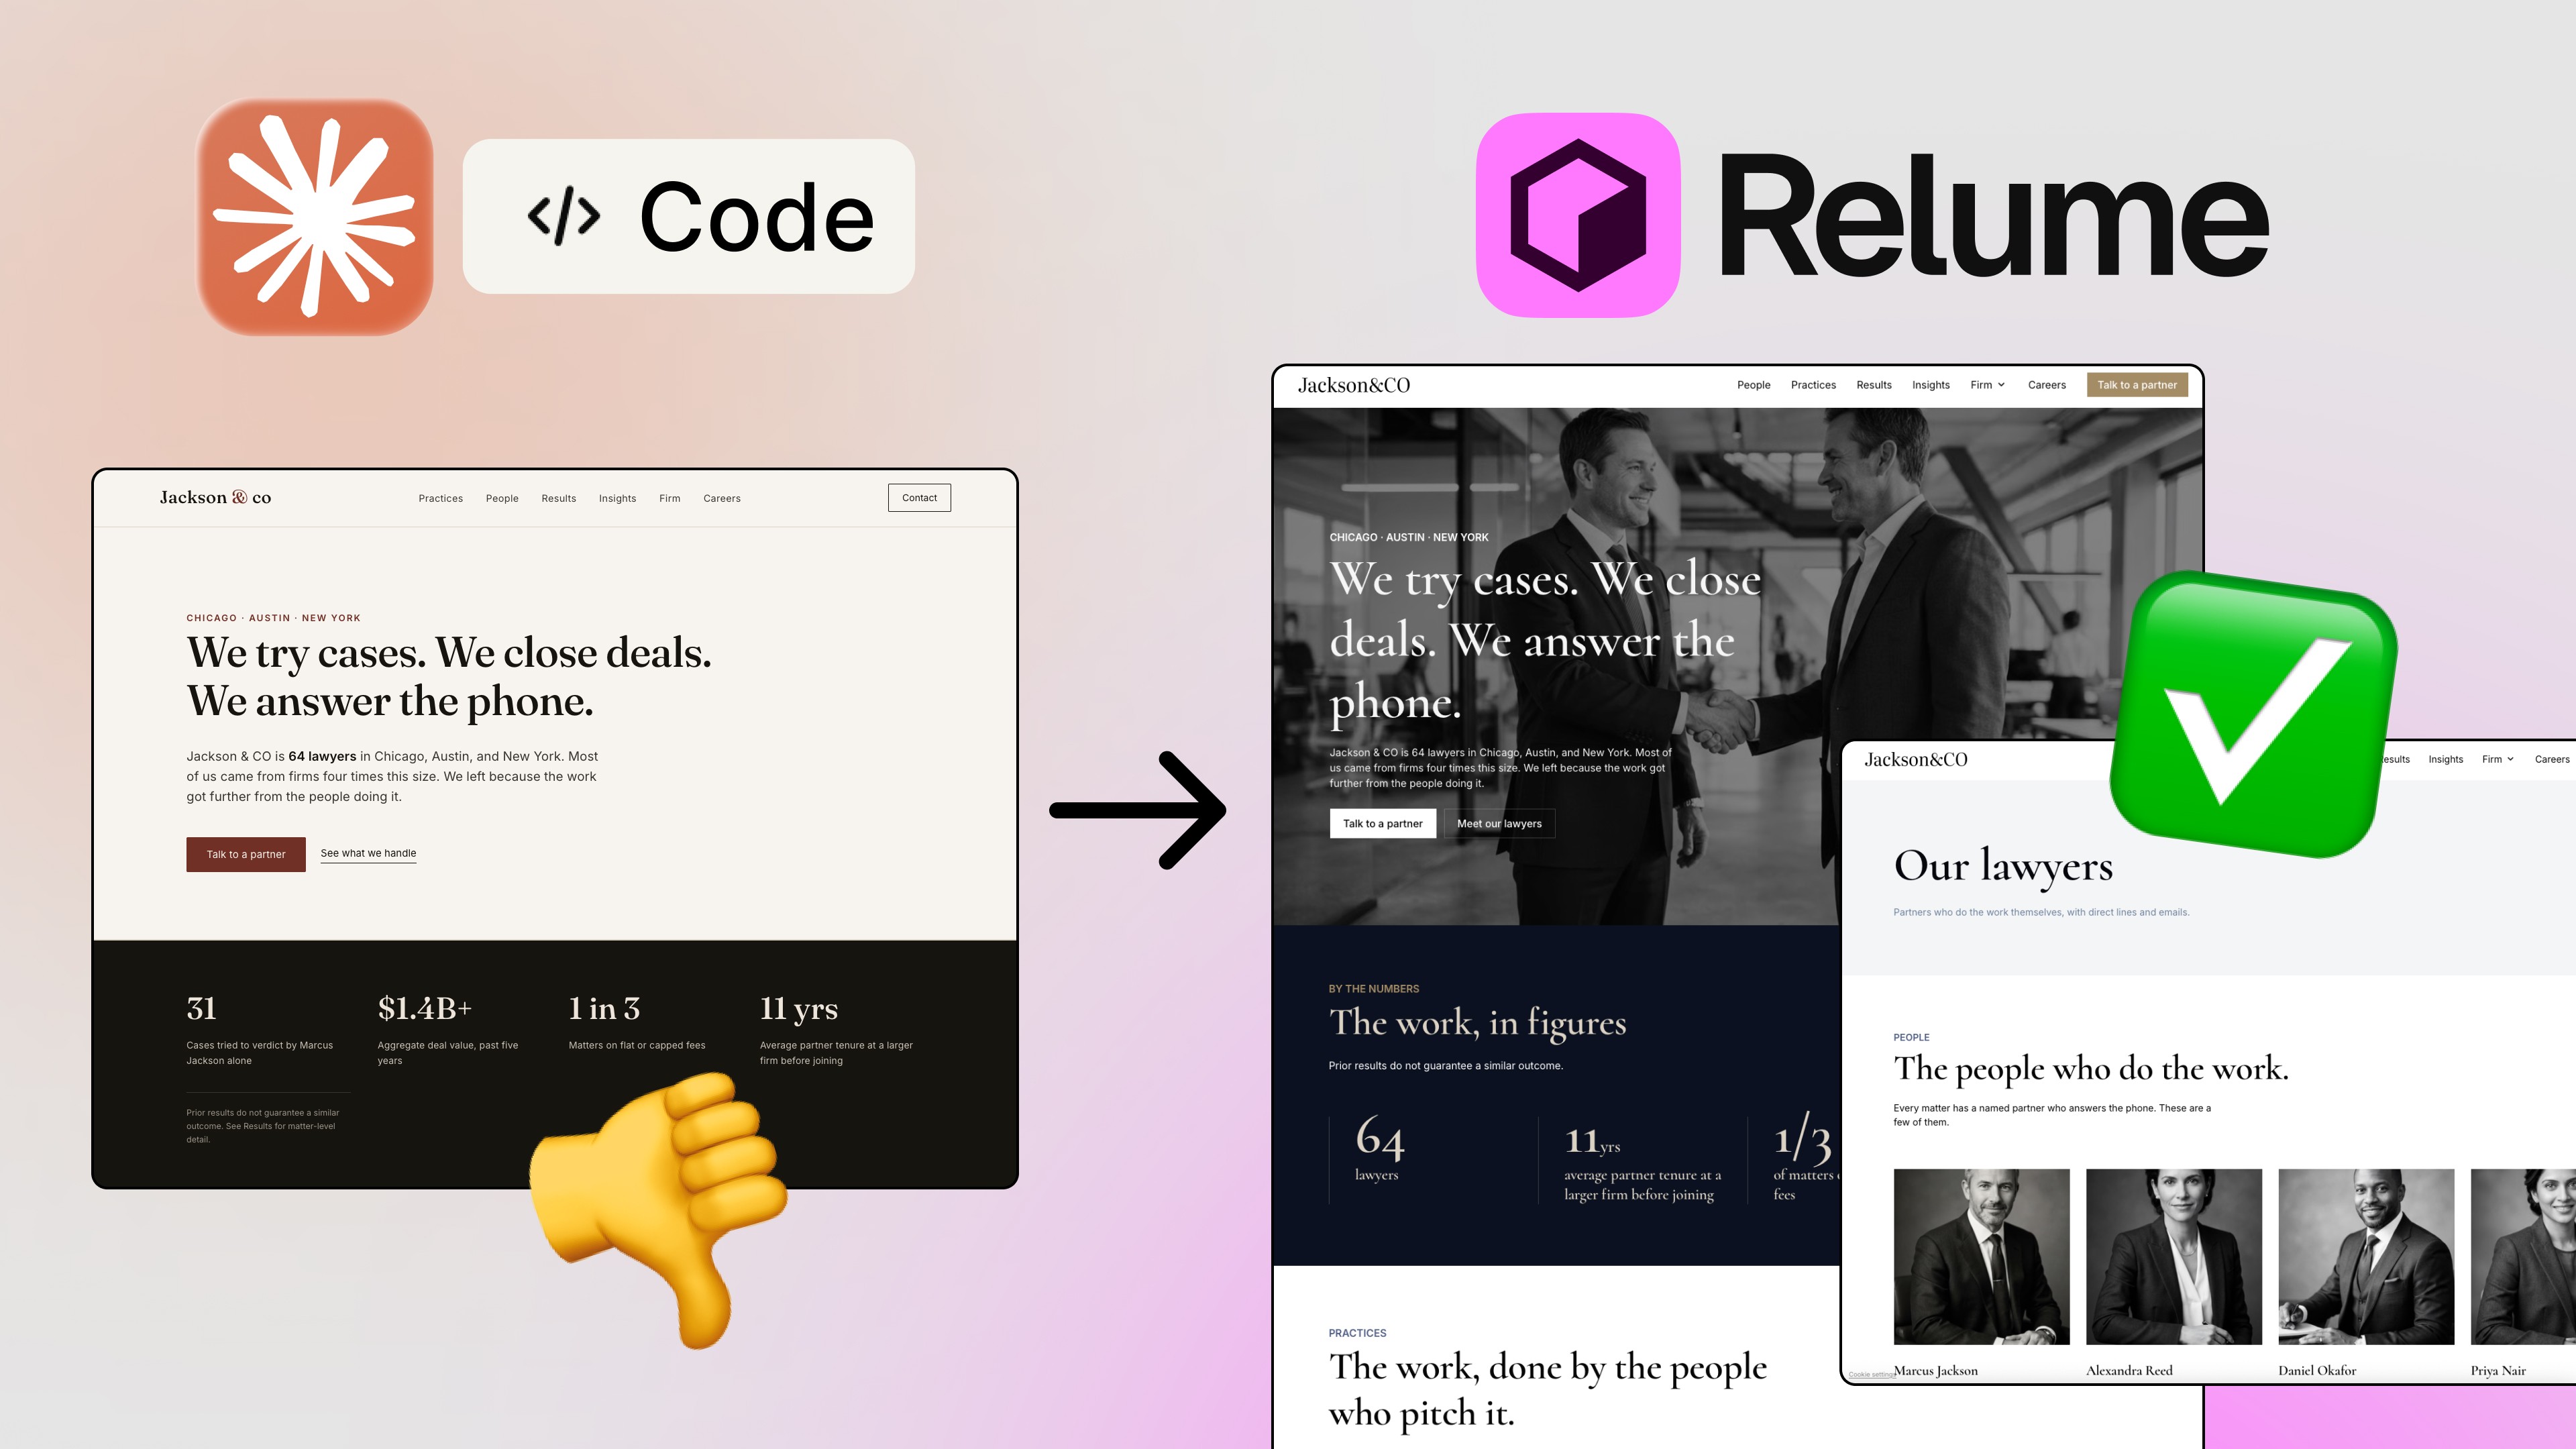
Here’s something nobody tells you: your first AI-generated build is going to look generic. Mine did. The first version of my movies calculator had a working core feature (a calculator that shows how many movies you can watch over a given time period), but visually it looked like every other AI-generated site out there.
This is normal, and it’s exactly why “prompt it once and ship it” doesn’t work as an AI SaaS development workflow. The magic happens in the iteration:
I added a dark and light mode
I built out SEO pages for different franchises and TV series (Marvel, Harry Potter, etc.)
I added a dynamic blur effect that pulls colors directly from movie cover art
Each of these came from a specific round of feedback and refinement — not from the original prompt. Treat your first output as a rough draft, not a final product.
📌 Building with AI week to week? I drop the full workflows in the newsletter so you don’t have to reverse-engineer every video.
Step 4: Use Real UI Patterns Instead of Guessing (Mobbin + AI Agent)
Once your core feature works, you’ll usually hit a wall on more complex flows — things like user profiles, login screens, and settings pages. This is where most people either guess badly or waste hours reinventing something that’s already been solved a hundred times.
Instead, I use Mobbin, a huge library of real, working app and website screens — not concept mockups from Pinterest, but actual shipped product flows, updated constantly with new apps. For my project, I needed a login flow, so I browsed real examples of email magic-link logins across dozens of apps, filtering by iOS or web, by category, and by company.
The real power move, though, is connecting Mobbin directly to your AI agent via MCP. Once connected, you can prompt your agent like this:
“Use Mobbin MCP to analyze best practices of login flows in lifestyle apps and profile settings. I need a simple flow using an email magic link. Create a step-by-step description to use in my app.”
Your agent then pulls patterns from real apps and generates a full flow breakdown — screens, edge cases, error states, and links to the actual apps it referenced — that you can implement directly.
📌 Actionable tip: Before you ask your AI agent to design any UX flow from scratch, check if a reference library like Mobbin already has proven examples. It’s faster than iterating blind, and your agent’s output will be noticeably more polished.
Step 5: Set Up Your Backend (Auth, Database, and Email)
With the design and flows in place, it’s time for the backend — and this is where a lot of AI-built prototypes fall apart, because they never move past the demo stage.
Database and auth: I use Supabase. Set up a project, connect it to your AI agent (Cursor or Claude Code) through MCP, and you can build out login, logout, and data storage — in my case, user profiles, watch history, and achievements — without hand-writing backend boilerplate.
Transactional email: For sending magic links and other automated emails, I use Loops (Resend works too — the specific provider isn’t what matters). Once it’s connected to Supabase through your agent, the flow works like this: a user enters their email → Supabase tells your email provider to send a magic link → the user clicks it → Supabase verifies it and logs them in.
All of these connections get stored in an .env file — this holds your secret keys and is one of the most important files in your entire project. Guard it carefully and never commit it to a public repo.
Step 6: Add Monetization
A SaaS product needs a way to make money, obviously. For payments, connect your project to a provider like Stripe, Lemon Squeezy, or Polar. I went with Lemon Squeezy for this project mainly because it supports more countries than Stripe does in certain regions.
The setup is simple: create two products (monthly and yearly plans), grab your API key and product key, and add them to your .env file. Tell your agent to wire up the checkout flow, run everything in test mode first, then switch it live once you’ve confirmed it works.
One detail worth calling out: route users to your payment provider’s hosted billing page (Lemon Squeezy’s or Stripe’s own domain) rather than storing card data yourself. It’s simpler, and it keeps you out of PCI compliance headaches entirely.
Step 7: Keep Two Files That Save You Later
There are two files I keep in every AI-built project that make a massive difference over time:
CHANGELOG.md — where your agent logs every update, with dates and descriptions. This becomes your project history and makes debugging (and remembering what you actually did) far easier.
design-system.md — where you document your design tokens: colors, typography, spacing, shape rules. Your agent references this file to keep new components consistent, instead of inventing a slightly different button size or spacing value every time you ask for a change.
📌 Actionable tip: Create both files on day one, even if they’re mostly empty. Tell your agent explicitly to update them after every significant change.
Step 8: Deploy and Go Live
Once everything works locally, deploy with Vercel — it’s the easiest option for Next.js web apps, and it connects cleanly to GitHub. I push updates to GitHub, then link the repo to a Vercel project, which handles the rest.
The step people forget: environment variables. Everything that lived in your local .env file — Supabase keys, Lemon Squeezy keys, Loops keys — needs to be added manually to Vercel’s environment variables and redeployed. Miss this step, and your live site simply won’t work, even though everything ran fine on your machine.
From there, connect your custom domain (Vercel offers a free one on paid plans), and you’re live.
The Bottom Line
Building a SaaS product with AI isn’t about finding the perfect one-shot prompt — it’s a workflow: validate the idea, plan it, build a rough version, iterate on design using real references, wire up the backend and payments, and deploy properly with your environment variables in place. AI handles a huge amount of the heavy lifting at every stage, but the direction, the taste, and the decisions about what to build next are still on you.
If you want to see this entire process in action — from the first Claude conversation to the live, working product — go watch the full video, and if you’re serious about leveling up your AI design and build workflow, subscribe to the newsletter so you don’t miss the next one. 🚀
FAQs
Can you really build a SaaS product with AI in one week?
What AI tools do you need to build a SaaS product?
Why does my first AI-generated design look generic?
Do I need to know how to code to build a SaaS product with AI?
What's the most common mistake people make when building with AI?
See more from me in Google Search
Add sergeichyrkov.com as a preferred source to get my tutorials and articles highlighted in Top Stories and AI Overviews.