Static hero sections are officially losing the war for attention. 😅
We've all seen it — a beautiful full-screen background image, a bold headline, a CTA button — and then... nothing. No movement, no life, no wow. Your visitor scrolls past before they even read your headline.
The good news? Figma just dropped something that changes this completely. They acquired Weavy — now rebranded as Figma Weave — and it's a node-based AI video and image generation tool baked directly into your Figma workflow. That means no more bouncing between five different apps. No more exporting assets and reimporting them. You design, you generate, you drop the video in, and suddenly your hero section looks like it was made by a high-end creative agency.
In this article, I'm going to walk you through exactly how this works — what Figma Weave actually is, how to use it to create a cinematic AI-generated video for a website hero, and how to bring that video back into your Figma design. By the end, you'll have a completely new weapon in your web design toolkit. 🚀
What Is Figma Weave (Formerly Weavy)?
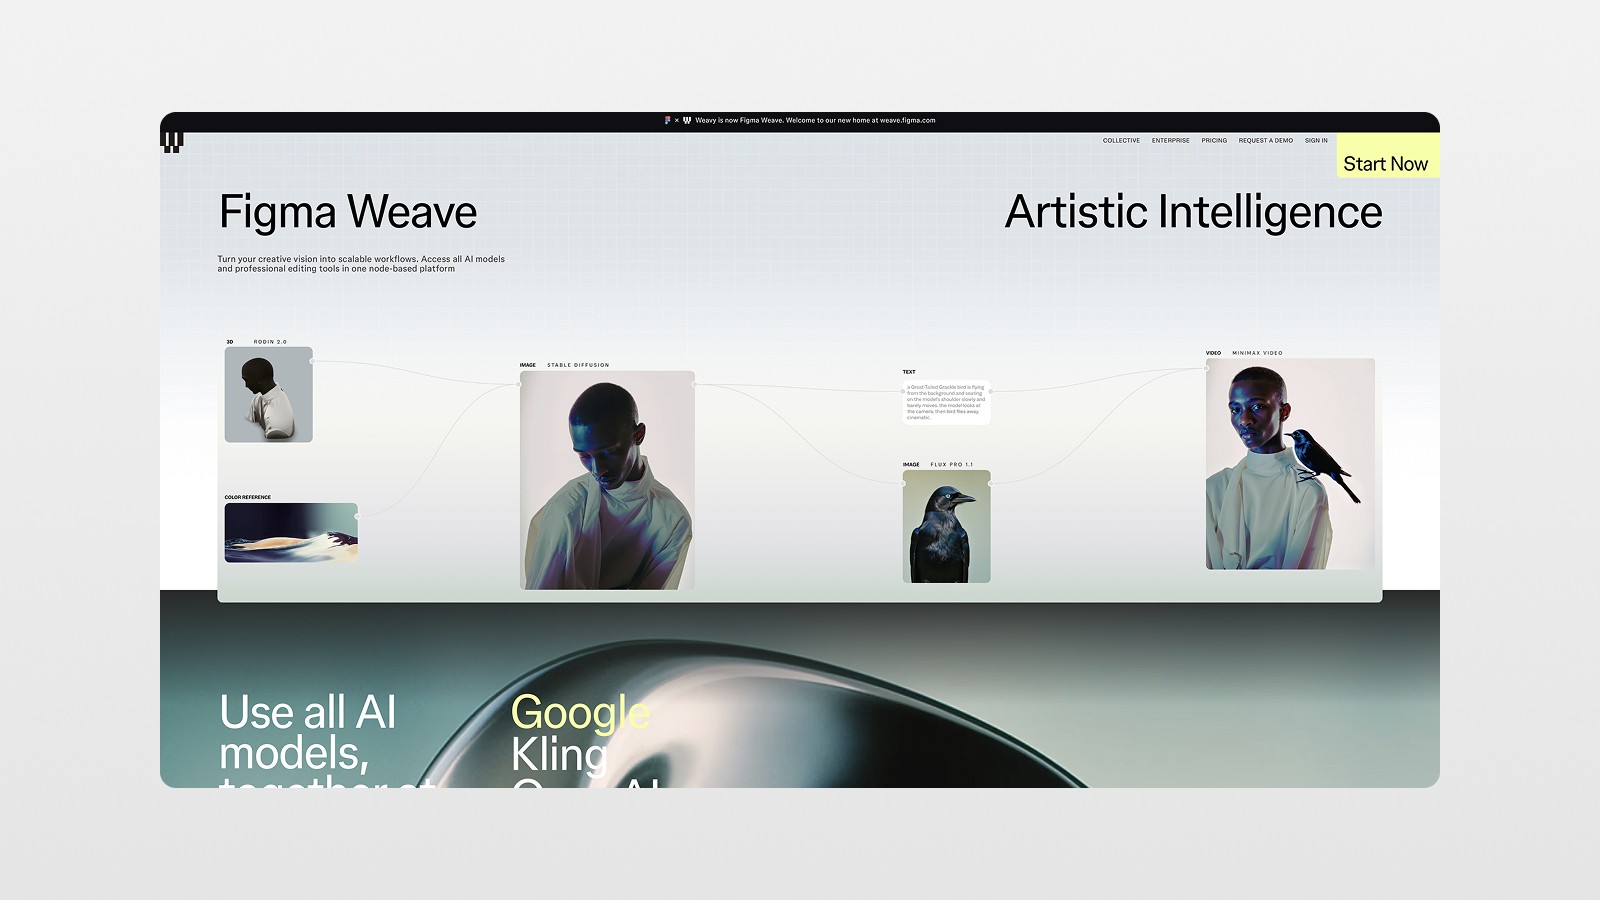
Figma Weave is Figma's newly acquired AI-powered creative tool, accessible at weave.figma.com. The core concept is a node-based workflow — similar to tools like Comfy UI or Node-RED, but designed for visual creatives who want to generate images and videos using the world's top AI models.
The interface is built around "nodes," where each node represents a specific function:
A Prompt node where you write your text prompt
An Image Generation node where you choose a model (Imagen 4, Ideogram v3, etc.)
A Compositor node where you layer and combine images
A Video Generation node where you animate your image (Seedance, Kling, Sora, Higgsfield, and more)
An Export node where you download the final result
The real magic? You can chain all of these nodes together in a single project. Write your prompt, generate an image, composite it with another image, animate it into a video, and export it — all without leaving one tab. 🤯
This is a massive deal for web designers and product designers, because it means you can create dynamic, cinematic video backgrounds for your websites without needing a full video production team or a separate subscription to five different AI tools.
Why This Matters for Web Designers
Here's the honest truth: adding video to a website hero section has always been annoying.
You either needed to hire a videographer (expensive 💸), license stock footage (boring and generic), or learn a video AI tool, export the result, bring it into Figma, realize it doesn't fit, go back, adjust, re-export, and on and on.
Figma Weave collapses that entire process into one workflow. And when you're running a design studio or freelancing, that's not just a nice-to-have — it's a competitive advantage.
The difference between a static hero and a video hero isn't subtle. A website with a cinematic, brand-matched video background instantly reads as more premium, more professional, and more trustworthy. That's the difference between a client paying you €500 and a client paying you €5,000 for the same fundamental design work.
Step-by-Step: Creating a Cinematic AI Video for Your Website Hero in Figma Weave
Let me walk you through the exact process I used to build a luxury car website hero section — from the first Figma Make prompt to the final video drop. 👇
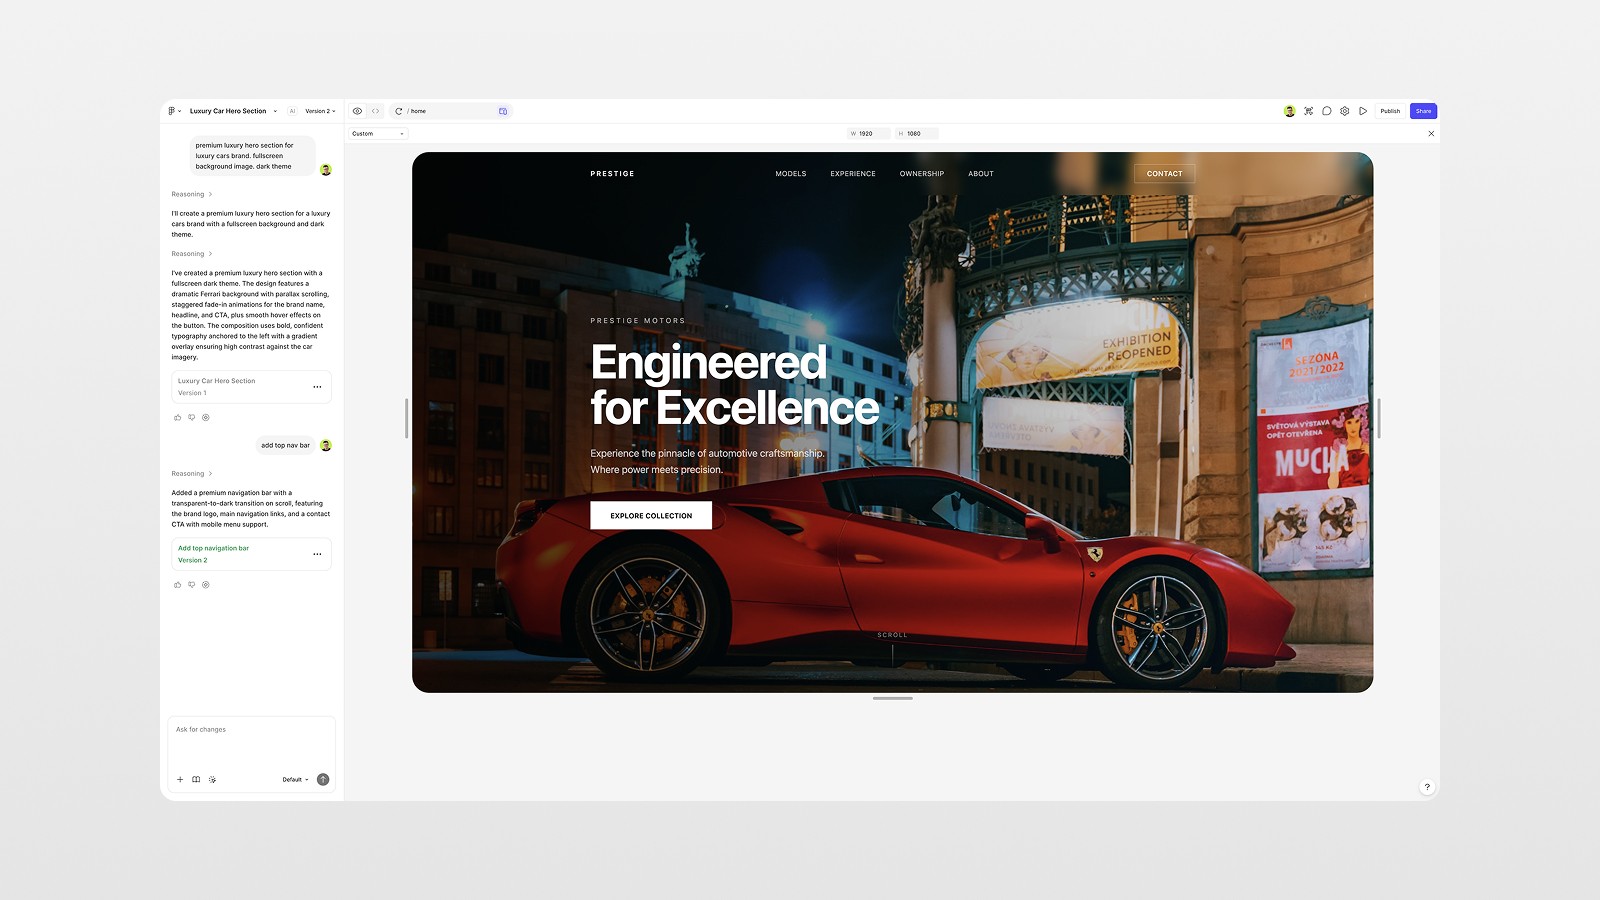
Step 1: Generate Your Base Design in Figma Make
Before jumping into Weave, start with a quick hero section design in Figma Make. Use a prompt that describes your exact vision:
"Premium luxury hero section for a luxury car brand, full-screen background image, dark theme"
From there, you'll get a generated layout with headline text, buttons, and a nav bar (you might need to add the nav separately — I had to the first time 😬). Once you're happy with the structure, copy the design and paste it directly into your Figma file.
Pro tip: If you're working on a large monitor (like a 27"), Figma Make will generate at a larger breakpoint by default. To fix this, switch to the mobile preview mode, select Custom, and type in your target resolution — for example, 1920×1080 for Full HD. Then regenerate or simply paste at that scale.
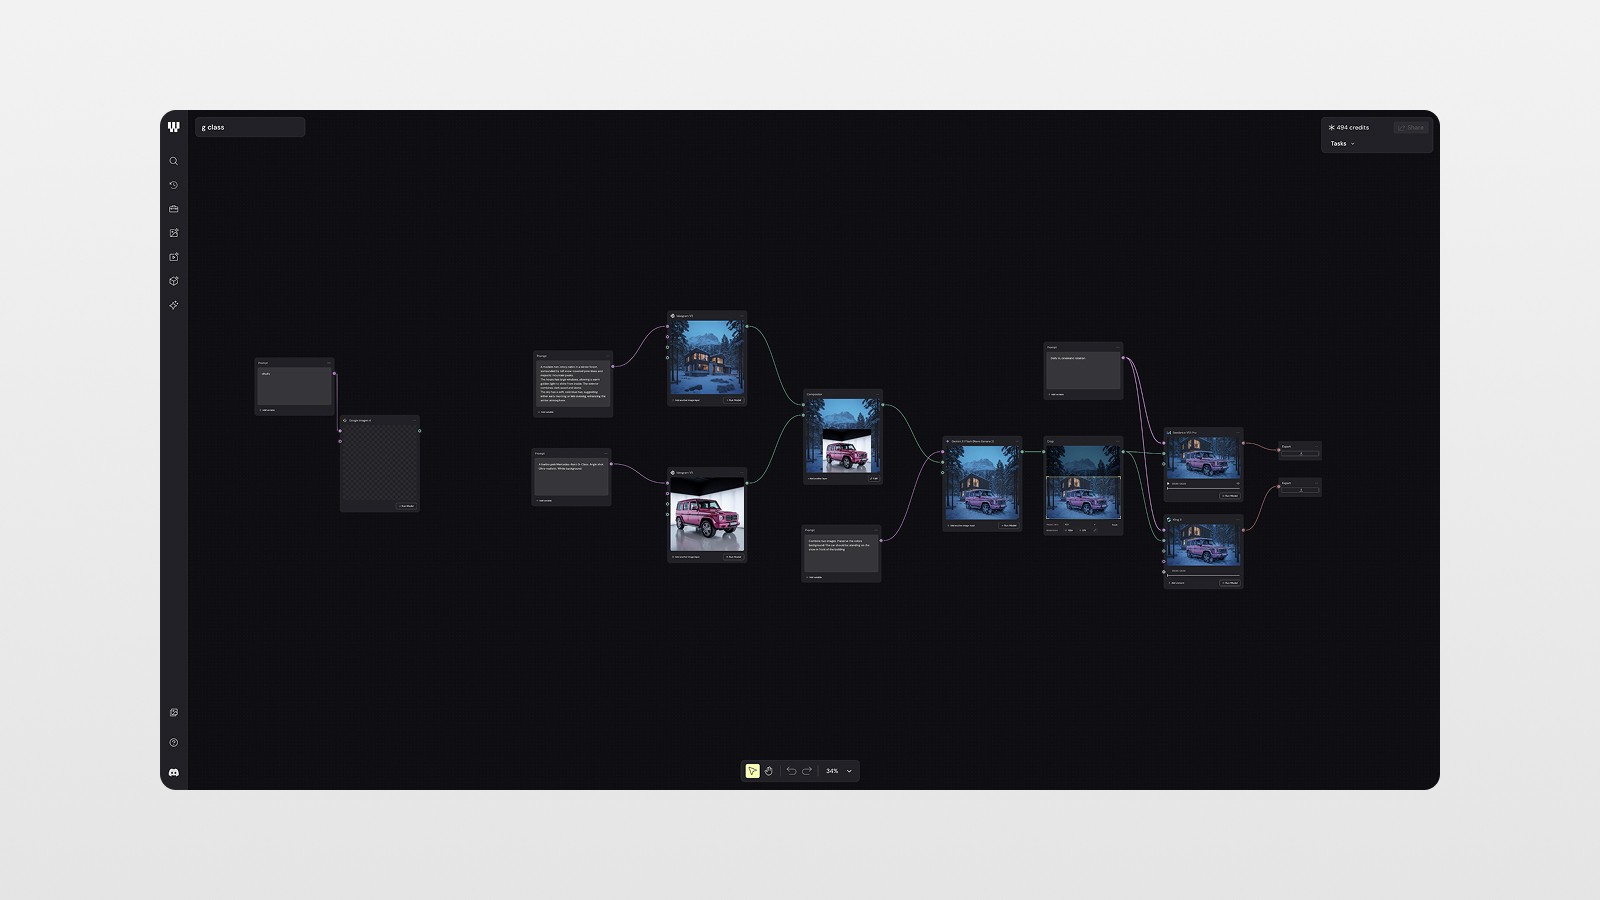
Step 2: Set Up Your Weave Project
Head to weave.figma.com and sign in with your Figma account.
Once inside, you'll see a canvas with example projects — things like illustration machines, face-swapping experiments, and video generators. These are great for understanding how the node system works before you start building your own.
To create a new project, start dragging nodes from the left panel onto the canvas.
Step 3: Write Your Prompts and Generate Images
For the luxury car hero, I needed two images:
A moody winter forest cabin as the background:
"A modern two-story cabin in a winter forest, surrounded by tall snow-covered pine trees and majestic mountain peaks.
The house has large windows, allowing a warm golden light to shine from inside. The exterior combines dark wood and stone.
The sky has a soft, cold blue hue, suggesting either early morning or late evening, enhancing the winter atmosphere."
A pink Barbie Mercedes-Benz G-Class as the hero vehicle:
"A barbie pink Mercedes-Benz G-Class. Angle shot. Ultra-realistic. White background"
Here's the workflow:
Add a Prompt node → Write your image description
Connect it to an Image Generation node → Choose your model
For image generation, I used Ideogram v3 for the car and the scene. It's a solid model for photorealistic results without blowing through your credit balance. Imagen 4 by Google is another great option at around 6 credits per generation — perfect for testing.
📌 One thing to know: you can edit the prompt directly on the node and re-run the model without creating a new node. It will generate a new image alongside your previous ones, so you can compare iterations. Super useful.

Step 4: Composite Your Images
Once you have your background scene and your vehicle image, drag in a Compositor node.
The compositor lets you layer your images like a simple Photoshop layer panel. I placed the G-Class on top of the winter cabin scene, adjusted the position to make it feel natural, and then connected this composition to a prompt for blending:
"Combine two images and preserve the colors of the background. The car should be standing on the snow in front of the building."
I ran this through Gemini 2 Flash (the "Nana Banana 2" node as I lovingly call it 😎) and the result was honestly stunning — a photorealistic G-Class parked in front of a snowy winter cabin. The first attempt had some weird issues (the car was floating, the proportions were off), but after refining the prompt and re-running, the third iteration was perfect.
Step 5: Crop to Your Target Aspect Ratio
Before generating video, you need to crop your composite image to the correct aspect ratio. Drag in a Crop node, set the ratio to 16:9, and adjust the framing to create the composition you want in your hero section.
This is the frame that your video will be based on, so take your time here — art direction matters. 👀
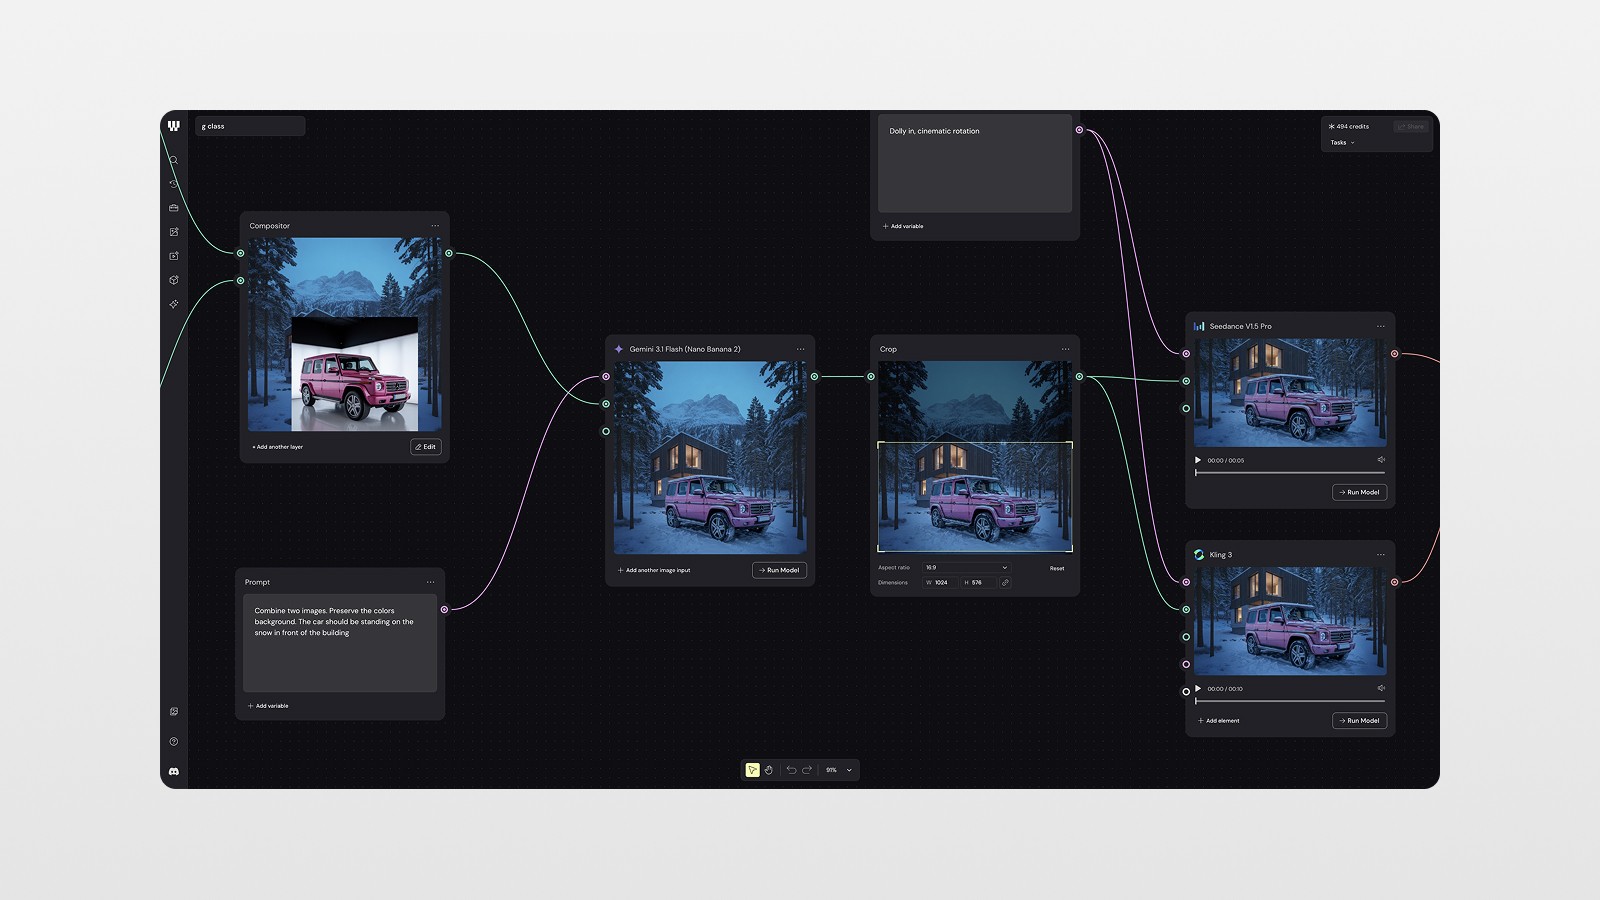
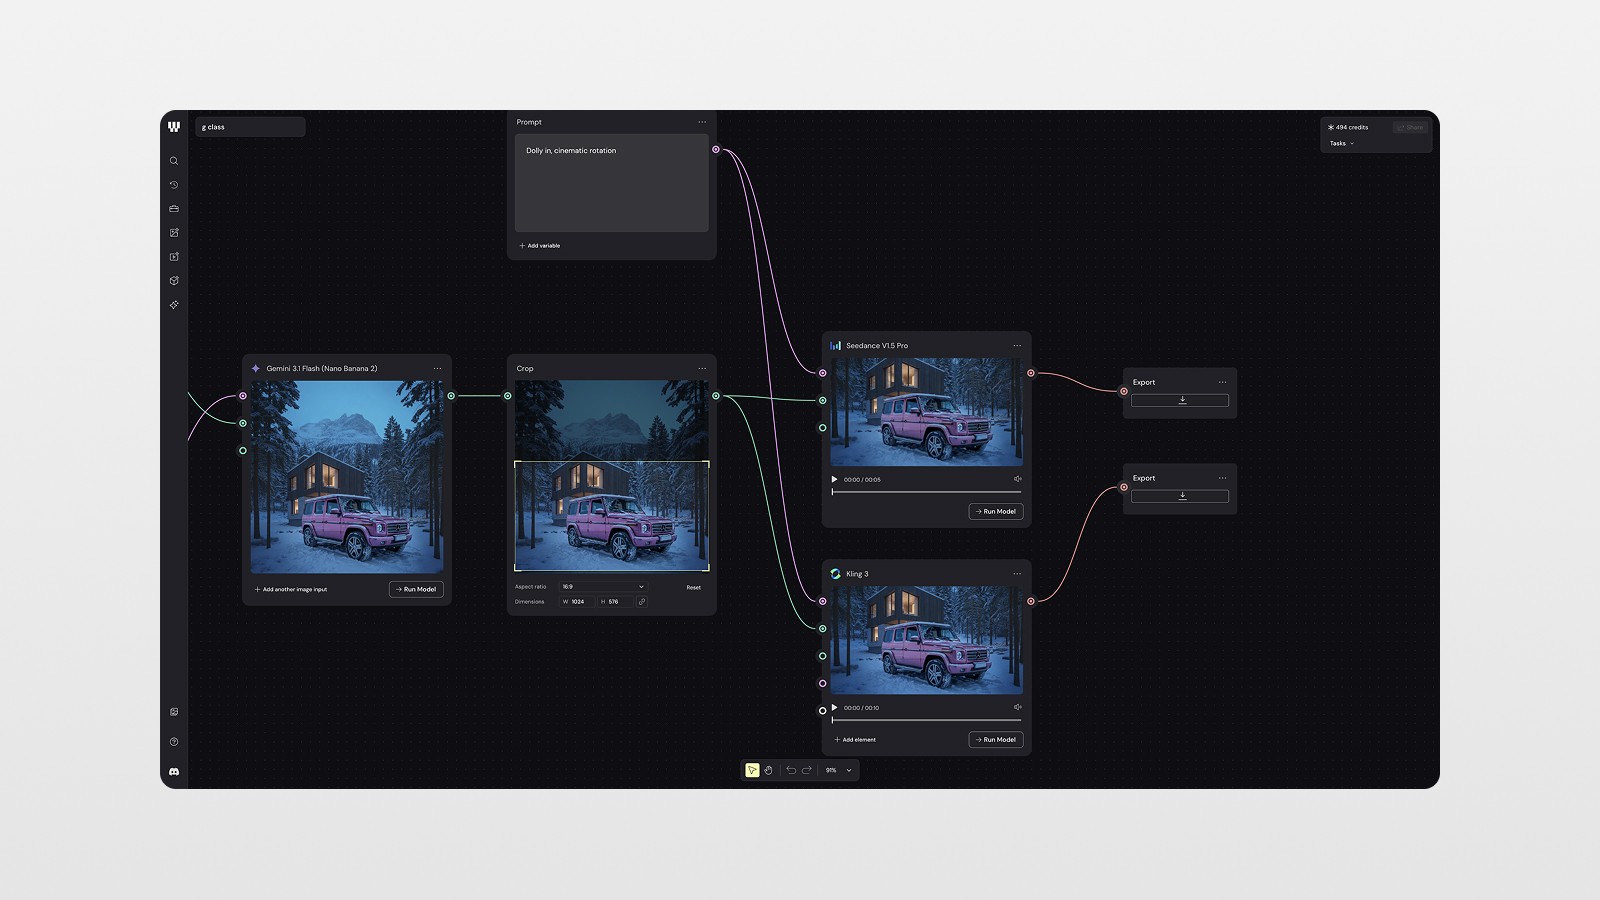
Step 6: Generate the Video
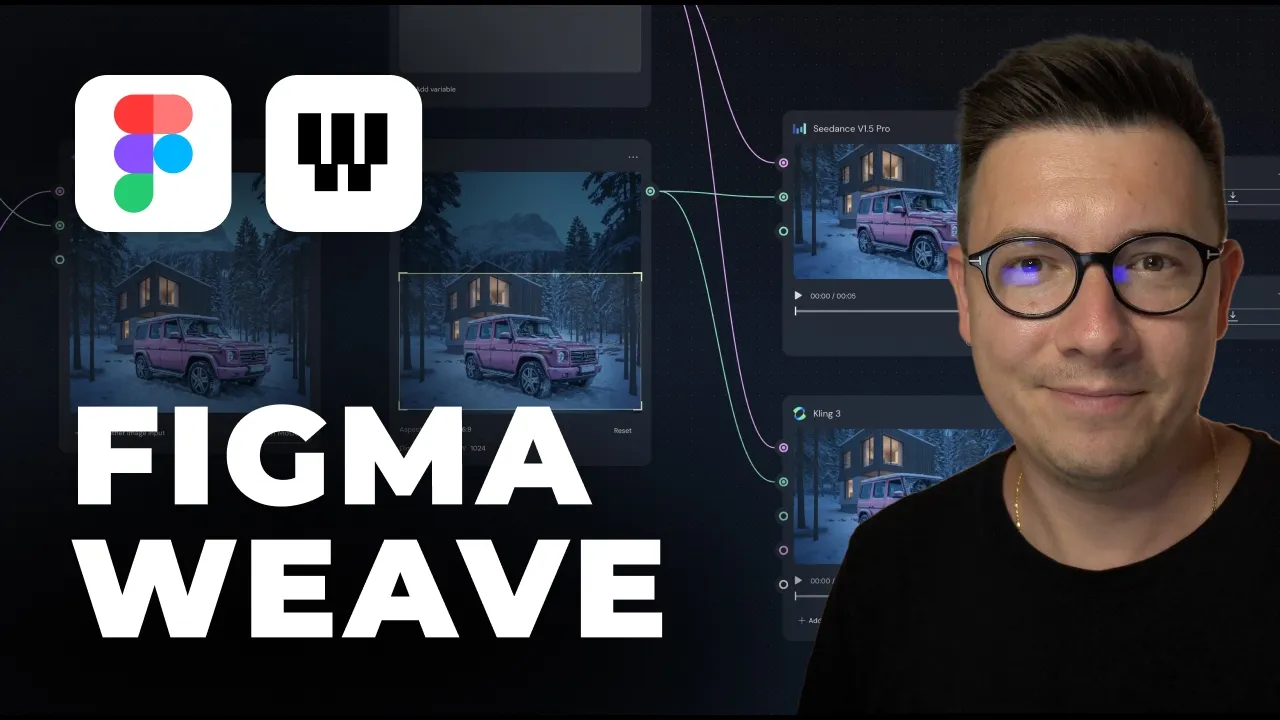
This is the fun part. Connect your cropped image to two video generation nodes and run them simultaneously:
Seedance 1.5
Kling 3
For both, use the same motion prompt:
"Dolly in, cinematic rotation"
Running multiple models at the same time is a huge advantage of the node-based workflow. You get different interpretations of the same prompt, and you can compare results to pick the best one.
In my case, Seedance produced the better result — a smooth, cinematic dolly-in movement that felt premium and intentional. Kling attempted a move-in but didn't nail the rotation, so I went with Seedance.
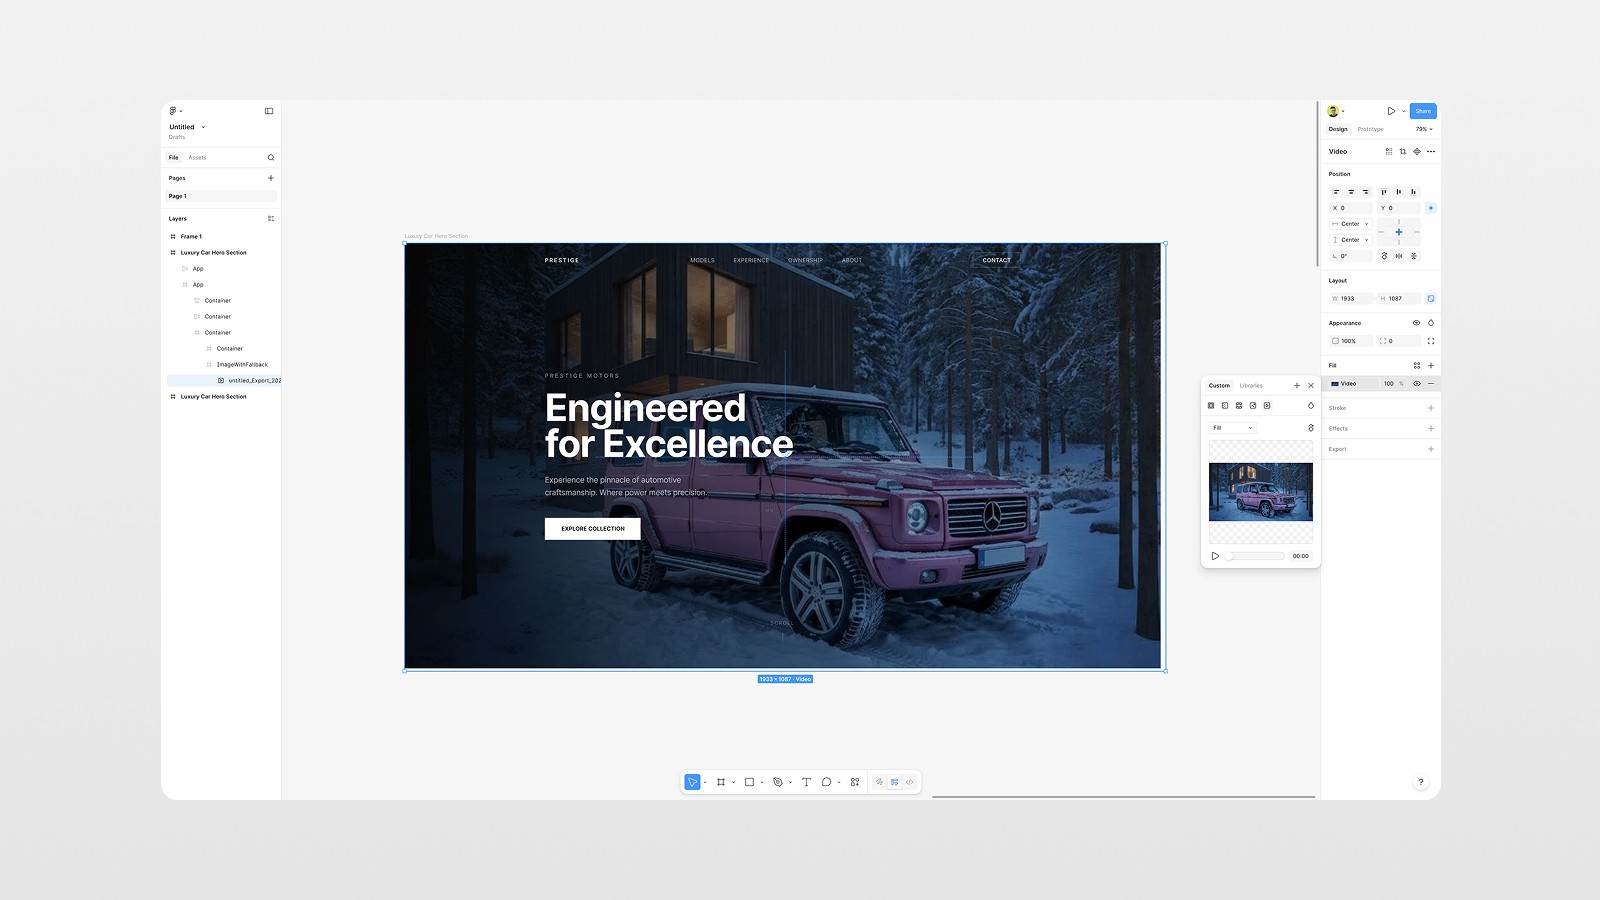
Step 7: Export and Drop Into Figma
Once you're happy with a video, add an Export node, connect it to your chosen video output, and download the file.
Now go back to your Figma file. Find the background image frame in your hero section, and paste your video directly inside the frame as a fill. Then preview it in Prototype mode — and watch your previously static design come alive. 🎬
Tips for Getting the Best Results in Figma Weave
Don't overspend on credits testing ideas. Start with Imagen 4 (6 credits) for rough image concepts before moving to heavier models.
Be specific in your prompts. Vague prompts produce generic results. Describe the lighting, the atmosphere, the angle, the style — the more detail, the better.
Use the compositor before you animate. Never try to composite elements inside a video generation model. Do it first as a static image, get it perfect, then animate.
Test at least two video models per shot. Different models have different strengths. What Seedance does well, Kling might not — and vice versa.
Work in Chrome. Figma Weave has some rendering issues in Safari — save yourself the headache and use Chrome for everything in Weave.
Conclusion: Figma Weave Is the Future of Web Design Workflow
Figma Weave is not just a cool new AI toy. It's a genuine workflow evolution for web designers and product designers who want to deliver higher-quality, more dynamic work — without increasing their production time or tool budget.
The ability to generate images, composite them, animate them into cinematic video, and export it all in one node-based canvas is genuinely new. And the integration with your existing Figma workflow makes it seamless rather than disruptive.
If you want your websites to look more premium, more engaging, and more worth a higher rate — Figma Weave is worth learning right now.
🎬 Watch the full tutorial on YouTube to see the exact workflow in action, and subscribe to the channel so you don't miss the next deep dive into tools like this!
FAQs
What is Figma Weave?
How do I access Figma Weave?
Which AI video models does Figma Weave support?
How much does Figma Weave cost to use?
Can I use Figma Weave videos directly in Figma?